
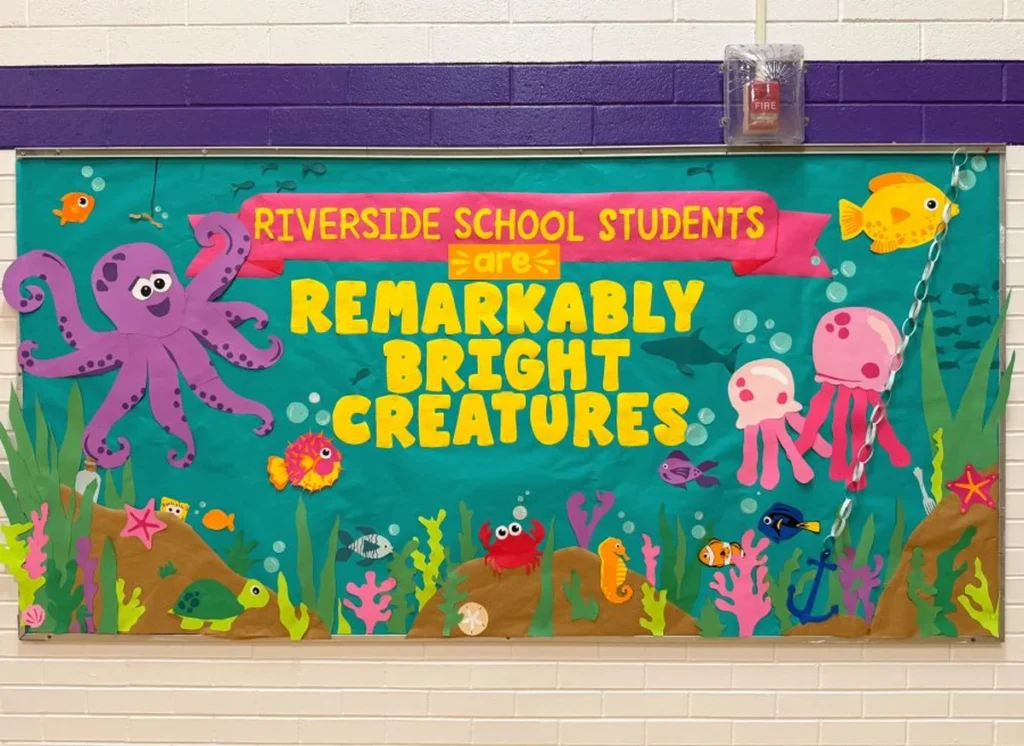
The hallway at school is about to get a new look this year, and I’ve been eyeing an empty bulletin board for weeks. This year’s theme: the ocean, built floor to ceiling from a pack of paper — no Cricut, no foam, no fabric, just scissors and glue and a kind of joy I should have felt more often.
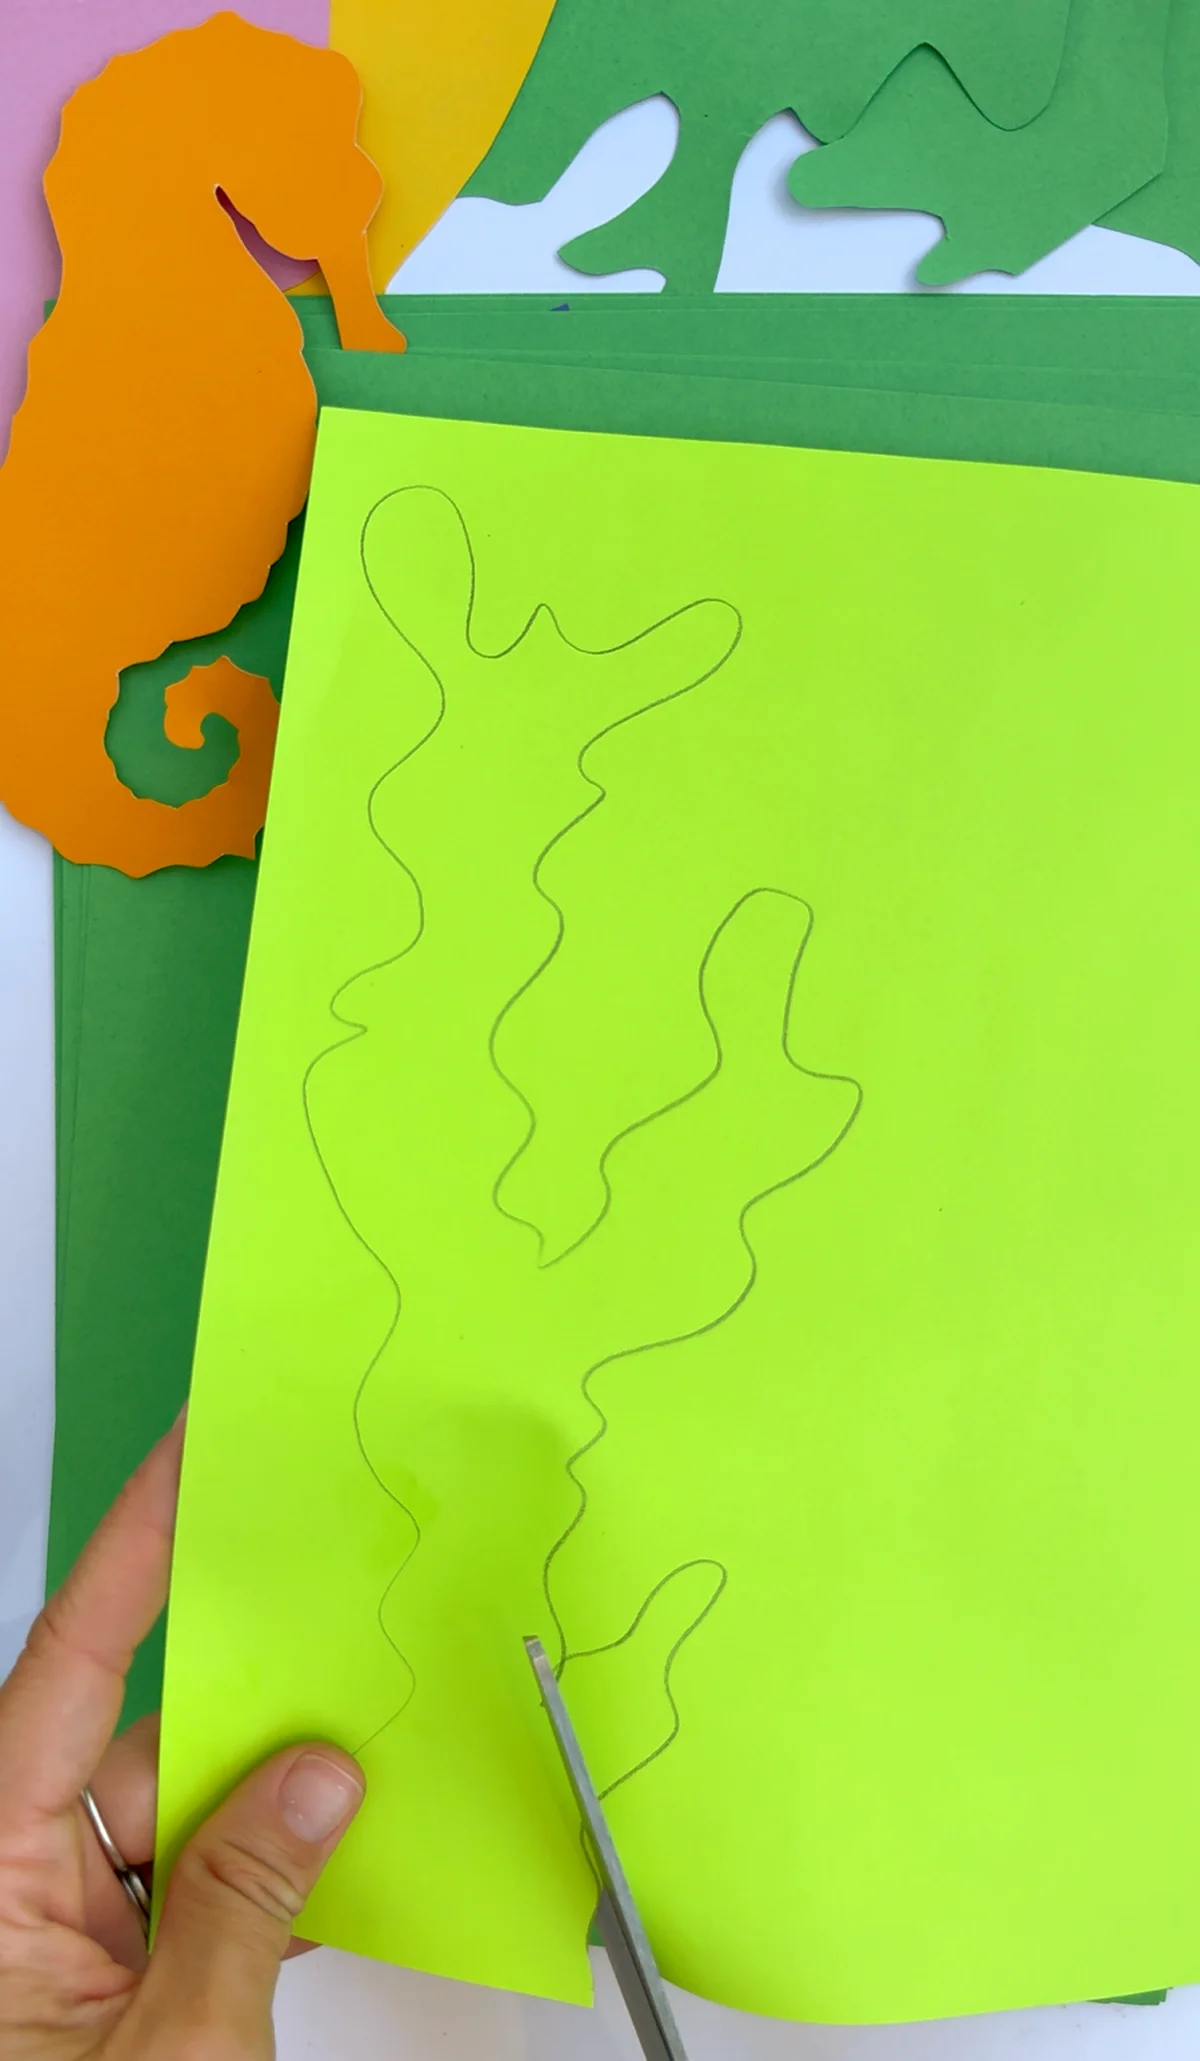 ” alt=”Giant under the sea bulletin board made entirely from paper” />
Here’s the headline: the whole board, start to finish, cost under $10. Time, sure — that’s the real currency on this one. But paper doesn’t sleep, and neither did I.
Why paper-only (and why I care about it)
I’ve built a few of these boards over the years, and the comments always land on the same note: how did you afford that? So the answer for this one is deliberately cheap. Construction paper and cardstock do all the work, and the board reads the way a pro spend would — layered, dimensional, a little wild. That’s the whole trick: layering flat paper until it stops being flat.
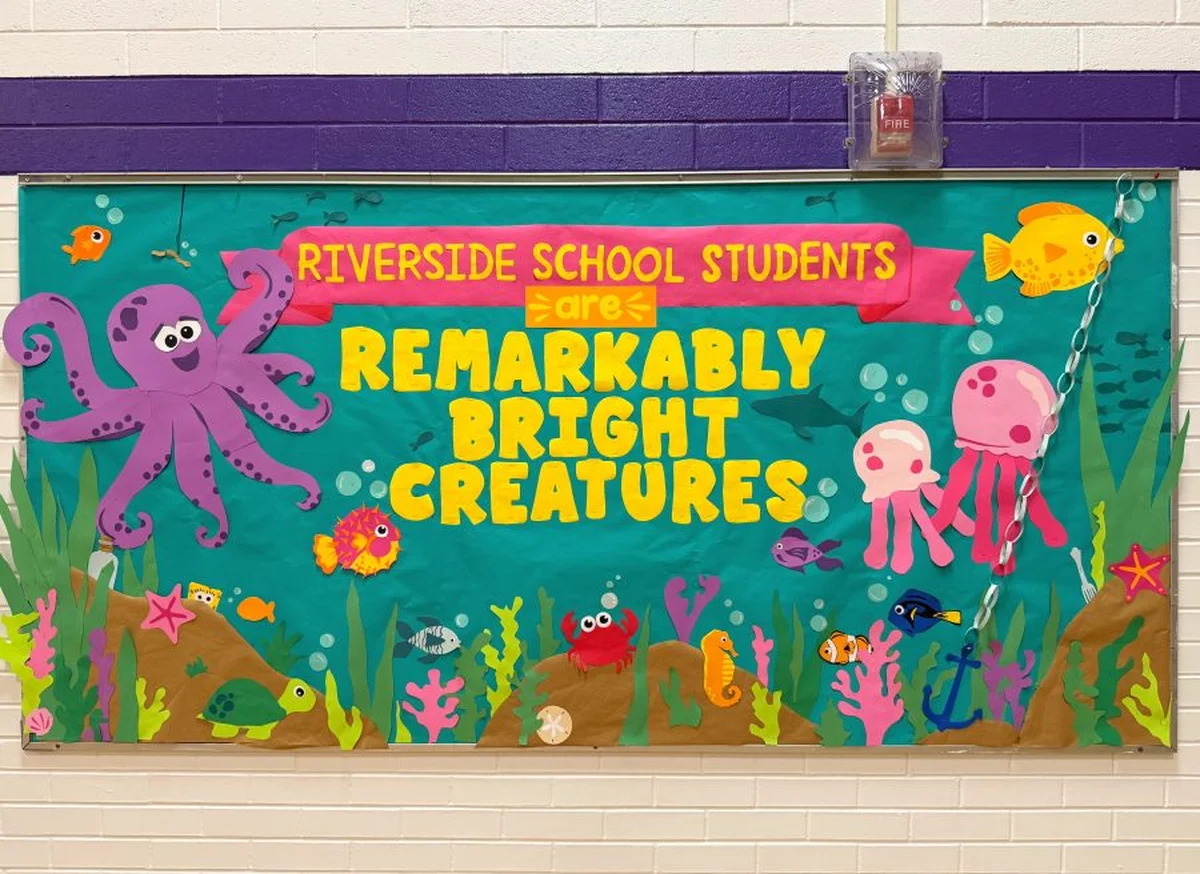 ” alt=”Cutting seaweed shapes from green construction paper” />
What you’ll need
- Colored bulletin board paper in bright turquoise or teal
- Construction paper or cardstock in assorted colors (pink, purple, orange, lime, three greens, brown, white, light blue)
- Pencil and scissors
- Glue stick or school glue, plus a stapler
- A pack of patience — this is a 3 to 5 hour build
The build, step by step
Step 1: Cover the board like water
Wrap the whole board in turquoise or teal paper. One color, edge to edge, like the deep part of the ocean. This is the sound the rest of the piece will play on.
Step 2: Lay down the ocean floor
Cut rolling hills from brown paper — big, lumpy, imperfect. Uneven shapes read as natural seabed the moment you stop trying to make them symmetrical. Glue or staple them along the bottom edge.
Step 3: Grow the seaweed
Multiple shades of green. Long wavy strips, some tall, some short. Straight blades next to curly ones — the mix is what creates texture. Layer them up through the bottom of the display.
Step 4: Build the coral reef
Cut coral shapes from pink, purple, yellow, lime, and orange. Keep the branches rounded, not sharp. Overlap the colors until the reef looks full, like it grew there rather than was placed there.
Step 5: Bring the creatures to life
This is the part I actually lose a weekend to. Sketch the designs with the pencil marks facing the back so you never have to erase. Not confident in your freehand? Trace a picture straight from your phone — nobody’s grading your pencils.
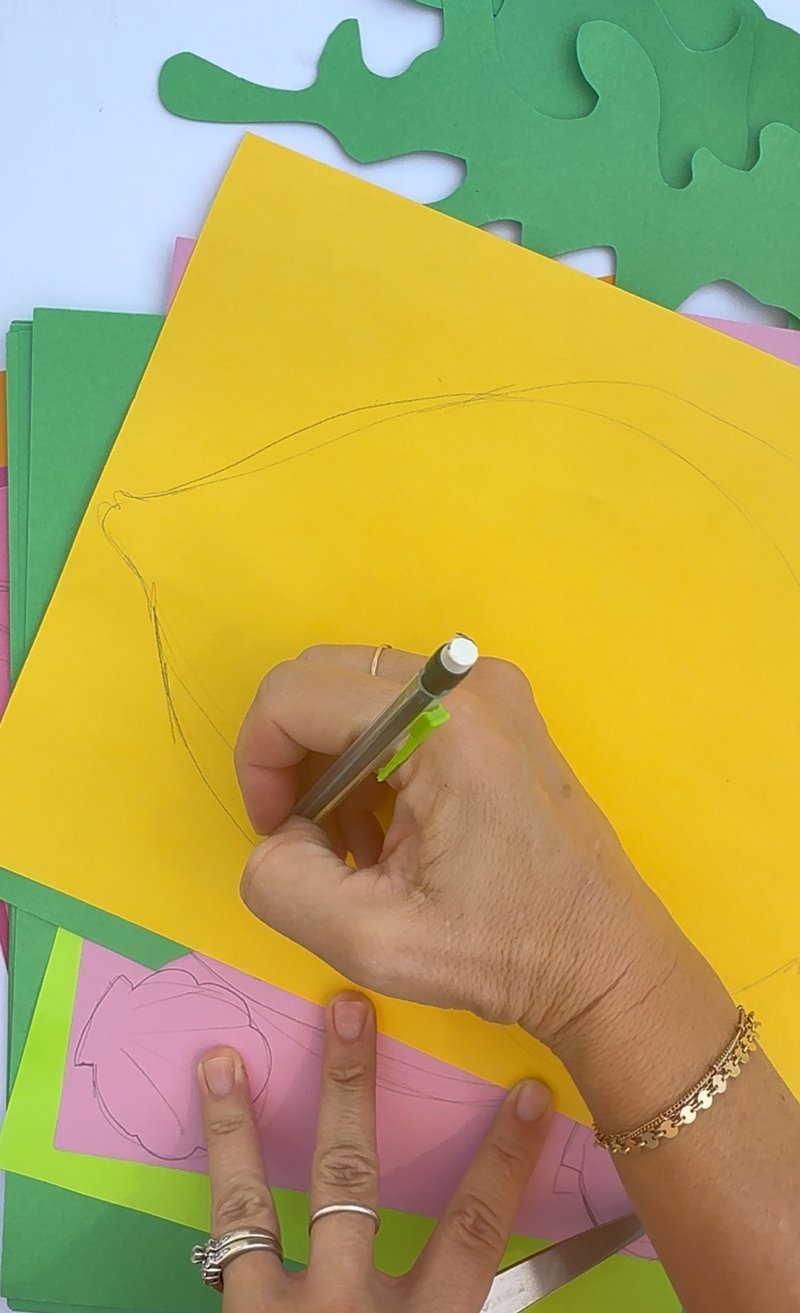 ” alt=”Hands sketching a sea creature design on colored paper” />
Here’s the cast, in the order I’d build them:
Octopus. One large circle for the head, eight long curved tentacles, small circles as suction cups, big cartoon eyes. Little eyebrows are the difference between decoration and character.
Jellyfish. Rounded domes, long wavy tentacles, a few white circles as highlights. Those white accents are the entire ‘glossy’ effect — two seconds of work, huge return.
Fish. The easiest on the board. Oval body, triangle tail, small fins, circle eye. Add stripes, dots, or scales with a marker or layered paper, and cut several different sizes so the tank has depth.
Crab. Big circle, two claws, six legs, funny eyes. A smiling crab changes the mood of the whole board. Pro tip: a hole punch makes perfect circles for the eyes.
Turtle. Oval shell, small head, four flippers, a tiny tail, and paper circles patterning the shell.
Anchor. Cut one, then make a paper chain in strips and let it run from top to bottom — it holds the eye down the center of the piece.
Seahorse and starfish. The seahorse is one curved body, a curled tail, a small fin, an eye. The starfish is a five-pointed rounded star — then cut a smaller one to layer under it for dimension.
Step 6: Add the bubbles
Nothing says underwater like bubbles. Cut light blue circles in every size you have and scatter them above the creatures, overlapping some for extra depth.
Step 7: Tiny details, big difference
Tiny fish, sea shells, sand dollars, sea plants, rocks, small anchors. These filler pieces are what keep the board from feeling empty in the corners. I went full bit-tweaking mode: a fork for a little mermaid, a small spongebob-style square peeking from the sand, a hook with a worm on it. If you’re not from the US, those are my two guilty-pleasure childhood cartoons — skip the easter eggs and the board still works.
Step 8: The title
The title is the focal point, and I cut every letter by hand. I was so tempted to use my cutting machine — really tried to prove scissors, glue, and paper were enough. Print letters to trace around if your handwriting and the board can’t hold hands. Ours reads: “Riverside School Students Are Remarkably Bright Creatures” — swap in your school’s name.
Stealing the whole idea? Here are the sayings I had cut and ready:
- We Sea Great Things This Year
- Diving Into Learning
- Our Class Is Making Waves
- You’re O-Fish-Ally Amazing
- Seas the Day
- School Is Fin-Tastic
- Welcome to Our School of Fish
- Our Students Are Shore to Succeed
Cut each letter from bright paper and layer a darker sheet behind it — that shadow is what makes the words pop.
Step 9: Layer in this order
- Ocean floor, seaweed, coral
- Large creatures
- Title, small fish, bubbles, sea plants
That sequence is what gives a flat board a three-dimensional look. Swapping the order is how boards end up… decorative papers.
The Style Math: cost per wear, bulletin board edition
I do cost-per-wear on my wardrobe, and this board passes the garment test the same way. Under $10 in paper, glue, and staples. It’ll hang as-is for a full school year — four terms, at minimum. That works out to roughly $2.50 per term, $1.25 per month. For comparison, the foam and ribbon versions of this project in my cart history clear easily three times that before a wall is covered. Buy the board that still works in June.
Verdict: under-$50 price tier, outperforms spenders.
Ways to customize it
One theme, four or five different boards. This works all year long:
- Opening of school: “Welcome to Our School of Fish”
- Reading unit: “Dive Into a Good Book”
- Testing season: “Our Students Are Making Waves”
- Science corner: “Exploring the Ocean”
- Summer school: “Sea You Learning!”
FAQ
Can I cut this with a Cricut or Silhouette?
Absolutely. Every shape on this board is freehand-friendly — scissors and simple paper templates do the job. If you’d rather skip the cutting, the machine can do it. Same board, less scissors-blister.
What paper works best?
Construction paper for the smaller pieces; bulletin board paper for backgrounds and big elements. Cardstock is the upgrade if you want the sea creatures stiff enough to survive a full year of kid hands.
How long does this actually take?
Plan for 3 to 5 hours, depending on the size of the display and how deep you go on the details. Recruit a coworker, a student, a family member — splitting the creatures is the fastest way to finish it the same afternoon.
A note from Maya
Eight steps, one pack of paper, and a wall that gets stared at daily. I used to buy the millimeter-perfect materials and ask questions later — this board was the occasionally-event that made me stop. Build the cheap version; the layering does the work the price tag used to.
If you’re doing a classroom or the kids’ room right now:
- Secondhand styling: the mix & match playbook“> how my best pieces end up costing less than this board
- The 10-Piece Edit, current issue“> the monthly 10-piece closet I actually wear