
I was sorting through the plants on my bathroom windowsill the other day, and there it was again: my Echeveria, stem stretched out like it was reaching for the light on its last good day. Gardeners call that etiolation. I just called it “why is my plant a giraffe.” Here’s the thing nobody tells you when you buy a succulent: pruning isn’t just maintenance. It’s free baby plants. That one leggy stem turned into more than ten new succulents, and the whole process cost me a pair of snips and about a week of waiting.
Succulents are among the easiest houseplants to propagate, which is exactly why I keep coming back to them. There are several ways to grow new plants from one, so whether you want to build your own collection or gift plants to friends, this is a genuinely low-stakes project. No fancy gear, no green-thumb prerequisite.
What propagation actually means
Propagation is just the process of growing new plants from parts of an existing one — leaves, stems, or roots. You can do it in soil, in water, or even in the air. Once a cutting sprouts healthy roots, you pot it up and care for it like any other plant. That’s the whole trick.
When is the best time to propagate succulents
Spring and summer are ideal, because that’s when your plant is actively growing. You can do it any time of year, but fall and winter cuttings take longer. If your plant needs pruning in January, prune it in January — don’t wait for the perfect season and let it stay leggy.
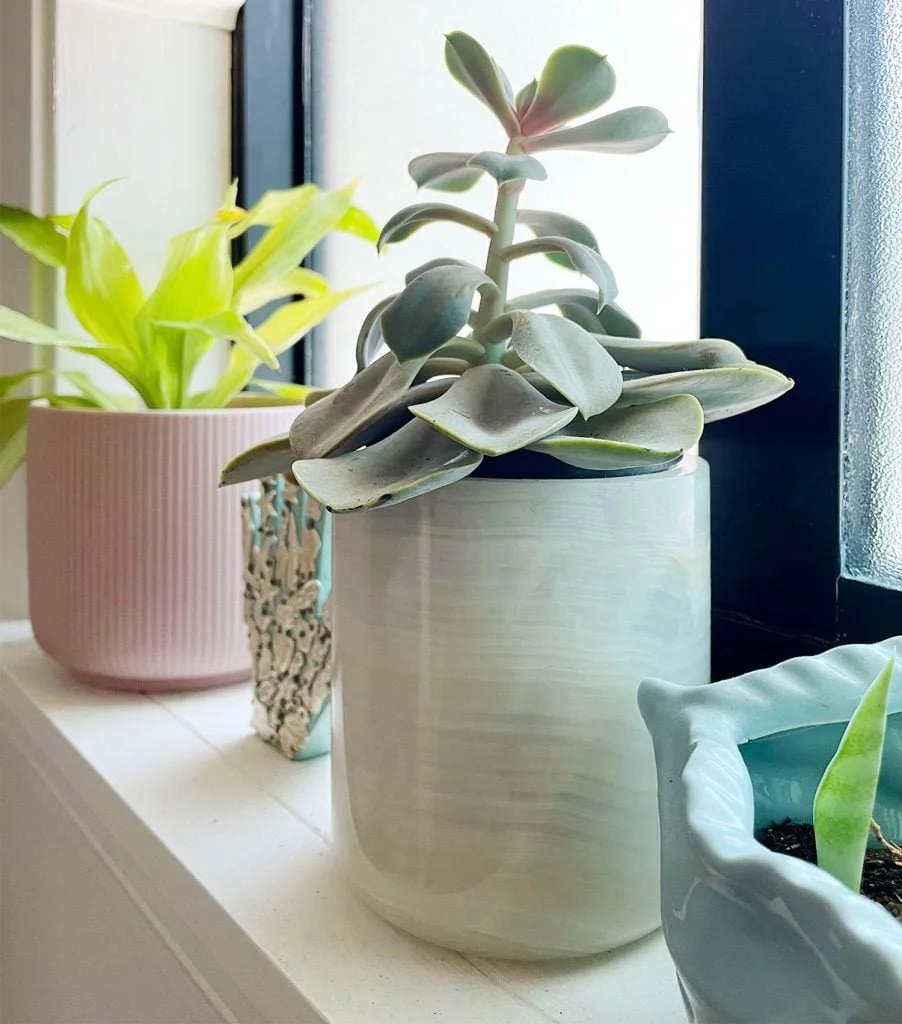
Mine was the perfect teaching case. It sat in my bathroom window, which gets limited light. The stem stretched out and got leggy, and I realized it was a great opportunity for multiple propagations at once. Yes, I got more than ten new succulents from that one stem.
The methods, in plain English
There are more techniques than most people need, but these are the ones that matter:
- Leaf propagation: remove individual leaves and place them in soil, water, or air to grow new pups (baby plants) from the leaf base.
- Stem propagation: put a bare stem cutting in soil, water, or air to grow new pups where the leaves used to be.
- Soil propagation: plant leaves or stems in well-draining soil and let roots develop in place.
- Water propagation: submerge leaf or stem tips in a jar of water until roots form, then move to soil.
- Air (dry) propagation: lay or hang leaves with no soil or water at all, and let roots form before potting.
I’ll walk through the full process with the three methods I actually tried. I skipped water propagation on purpose — you have to carefully suspend the leaves so only the tips touch the water, which felt fussy compared to everything else.
What you need
This is a cheap project. Gather these before you start:
- Pruning snips or scissors
- Cactus or succulent potting soil
- A shallow tray, dish, or bowl
- Nursery pots
- A small spray bottle
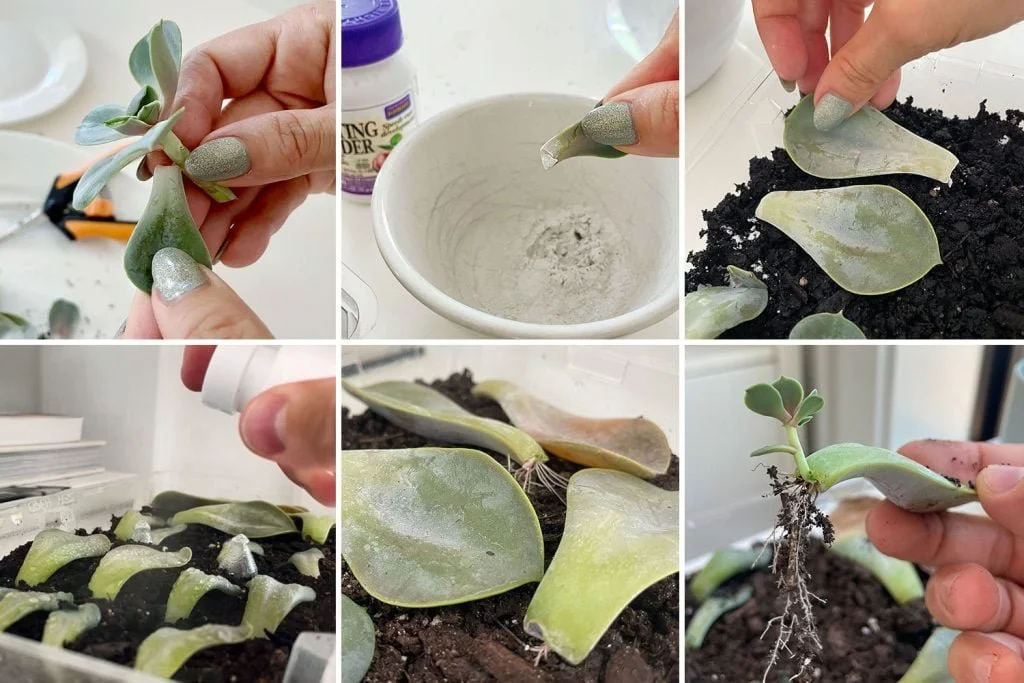
- Rooting hormone (optional, but it really did seem to help mine)
The full walkthrough, step by step
Step 1: Water the parent plant, then wait 3 days
Give your mother plant a drink and let it sit for about 3 days before you cut anything. Succulents store water in their leaves, and one last good soak fills them up with moisture and nutrients for the journey ahead. Make sure excess water drains out the bottom of the pot.
Step 2: Cut the stem at the soil line
Use clean, sharp snips. Wipe them with rubbing alcohol first to keep bacteria from spreading. Cut right at the soil line, and your pot will suddenly look very bare. That’s normal — don’t panic.
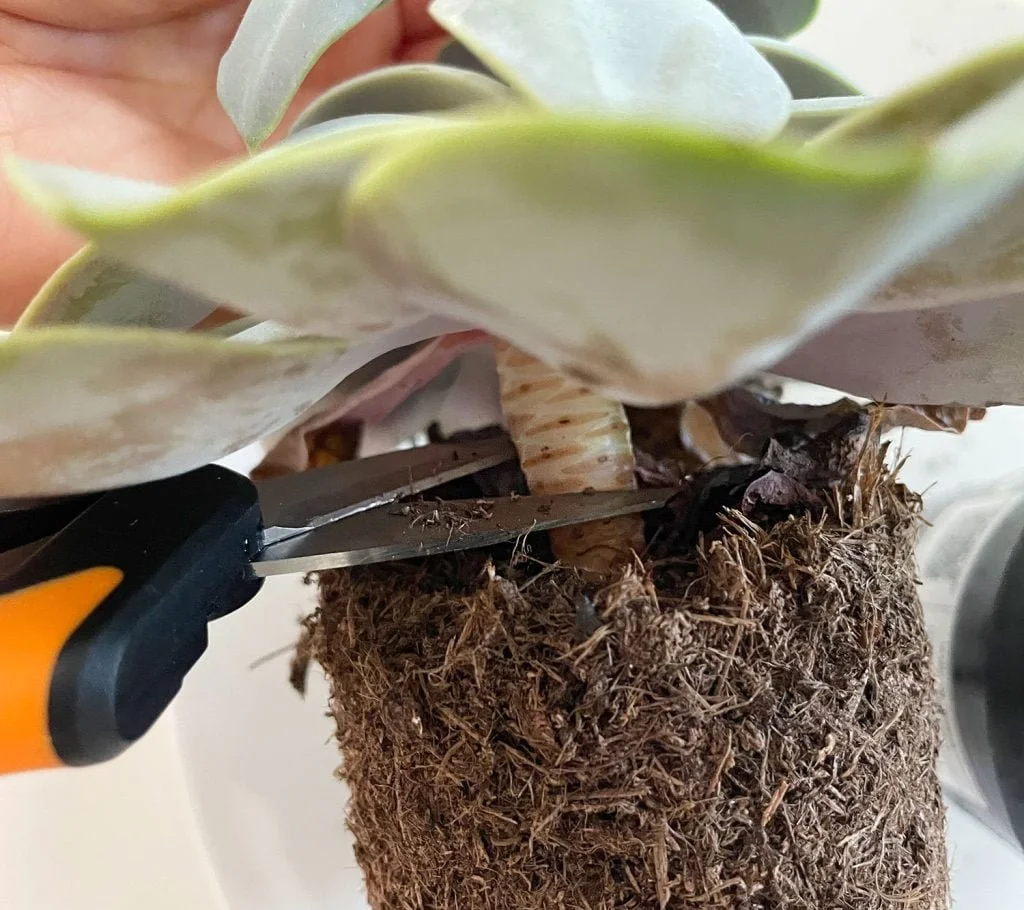
That bare stump isn’t trash. The existing roots can grow the first of many new plants from this process. Leave the pot in bright indirect light and care for it like before. After a few weeks you may see new pups forming near the soil line.
Step 3: Remove the bottom leaves
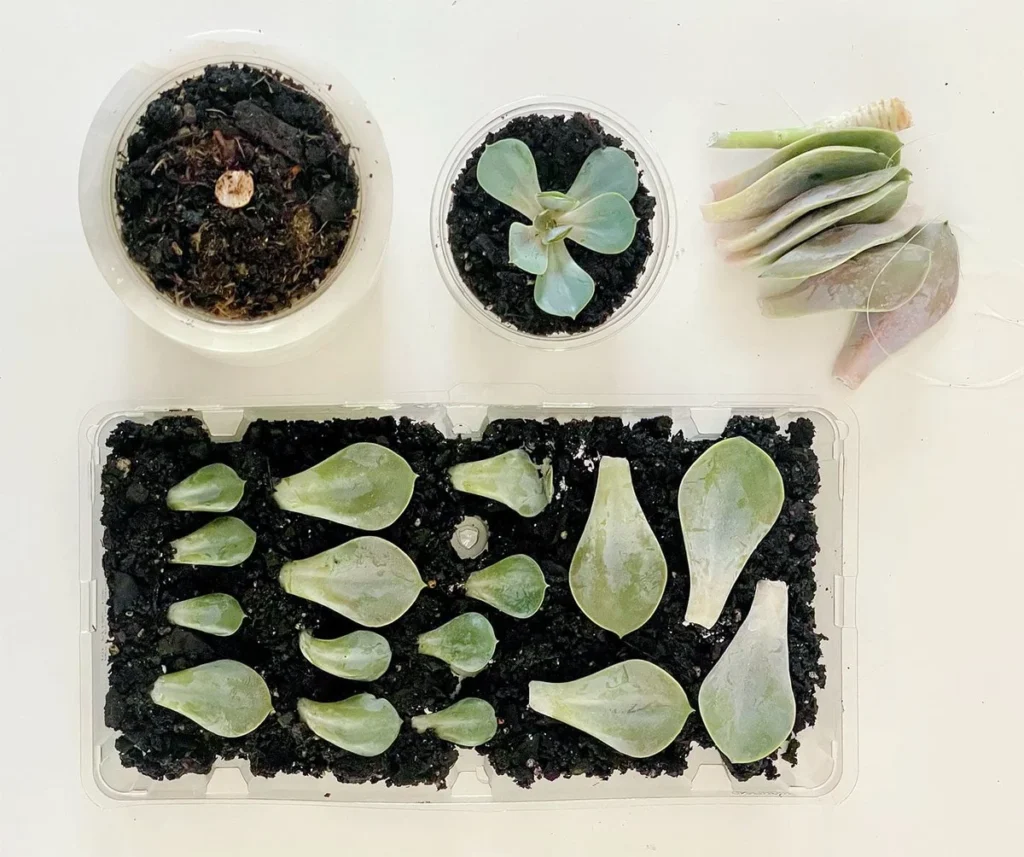
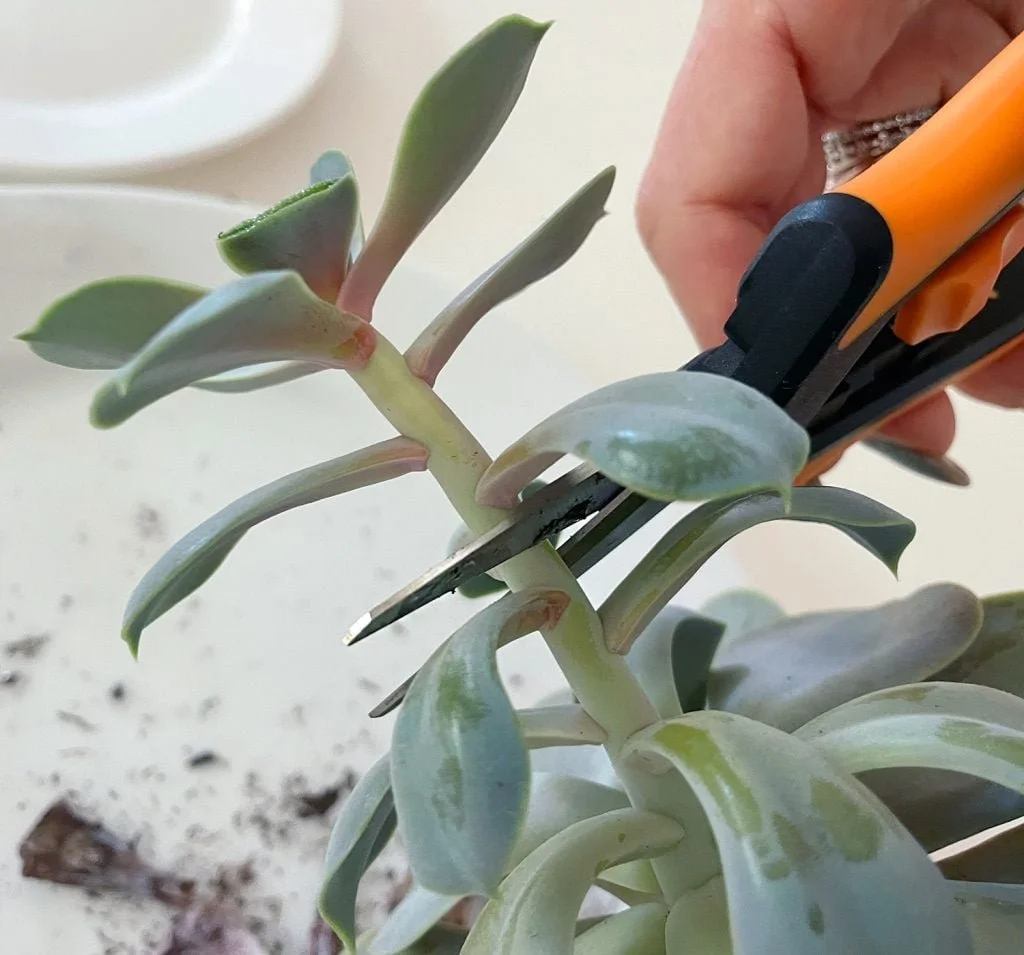
Now turn your attention to the stem you just cut. Mine was so long that I cut it again a little further up to make a smaller piece to work with — though that may not be necessary for yours.
Work from the bottom up, removing leaves one by one and leaving a small rosette at the top. To remove a leaf, gently twist it side to side at the base. Most should break off cleanly, but take your time. A clean break matters, because ripped leaves won’t propagate. Skip any yellow, brown, or mushy leaves — they’re not healthy enough.
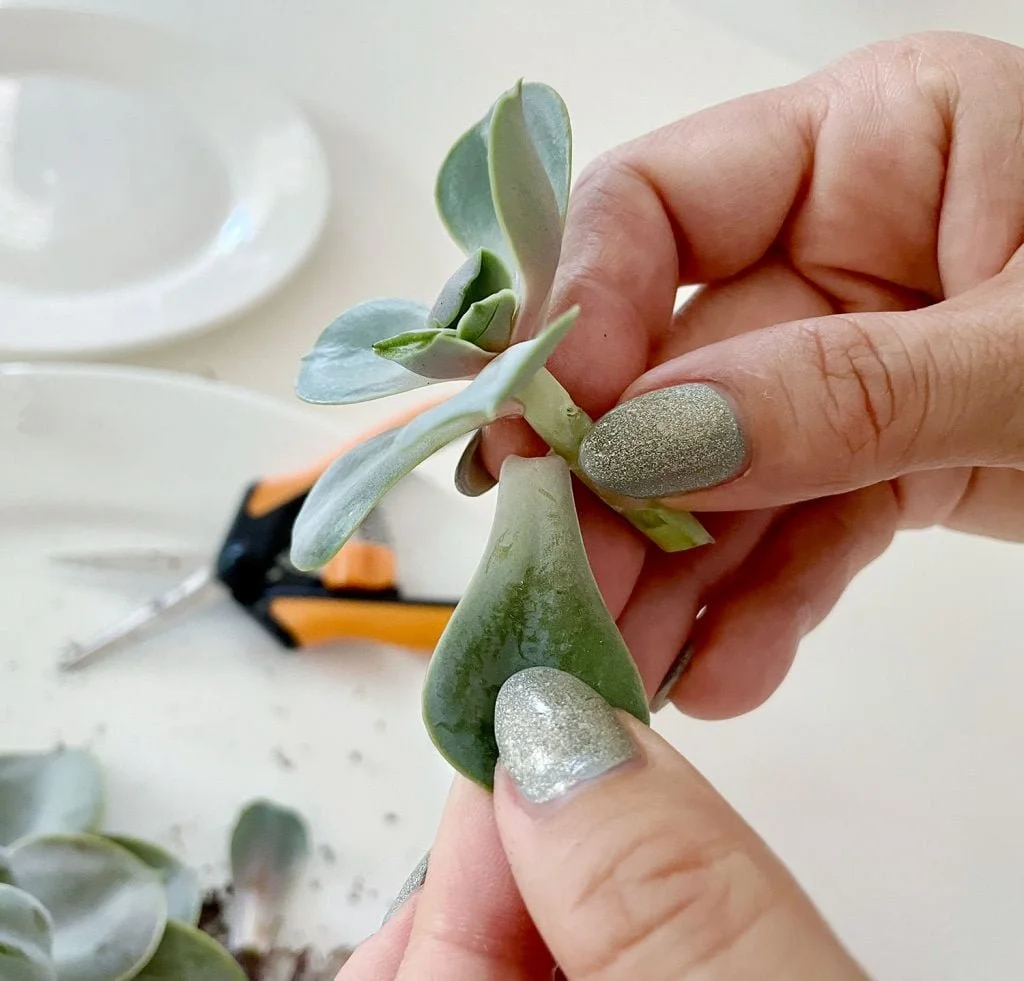
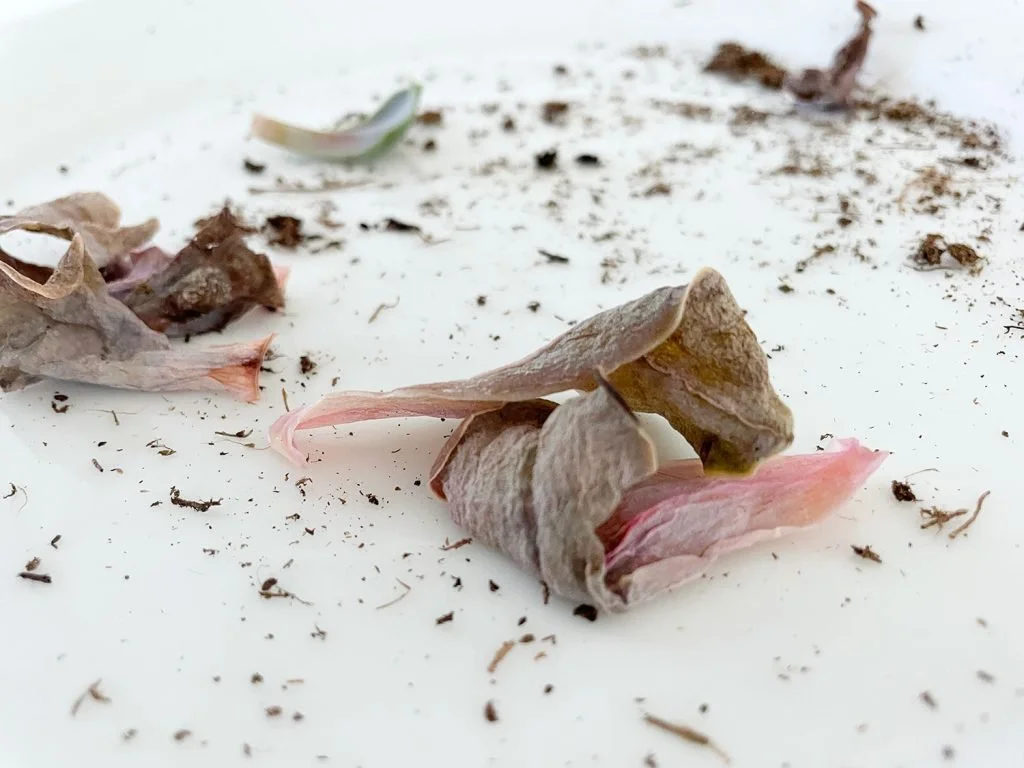
You should end up with several usable leaves and a short bare stem with a small rosette at the top. That stem goes back in soil after the next step, giving you a new, not-so-leggy plant. If your stem was very leggy, you can also cut the bare portions into small pieces and treat them like leaves.
Step 4: Let everything callous for 3–5 days
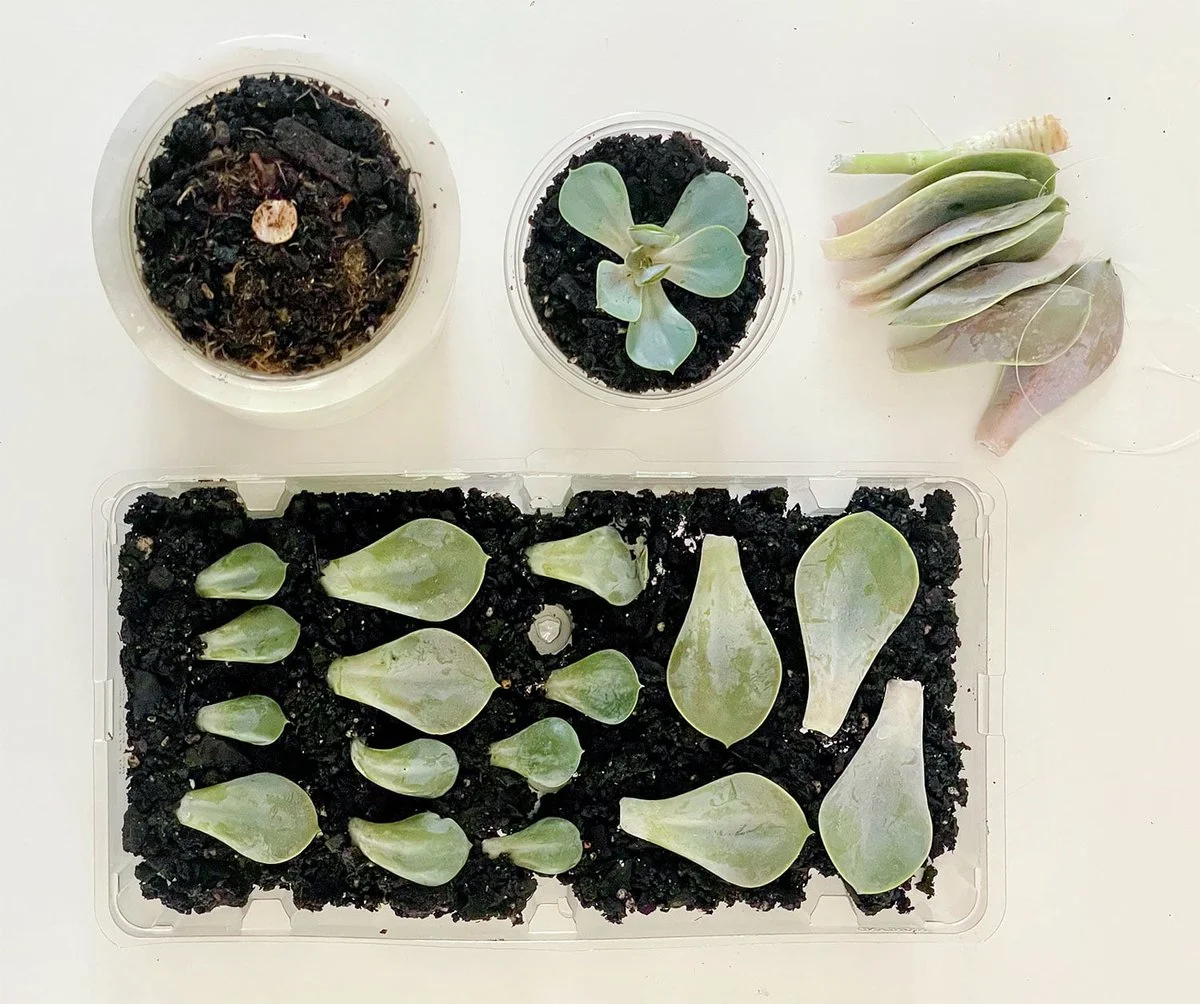
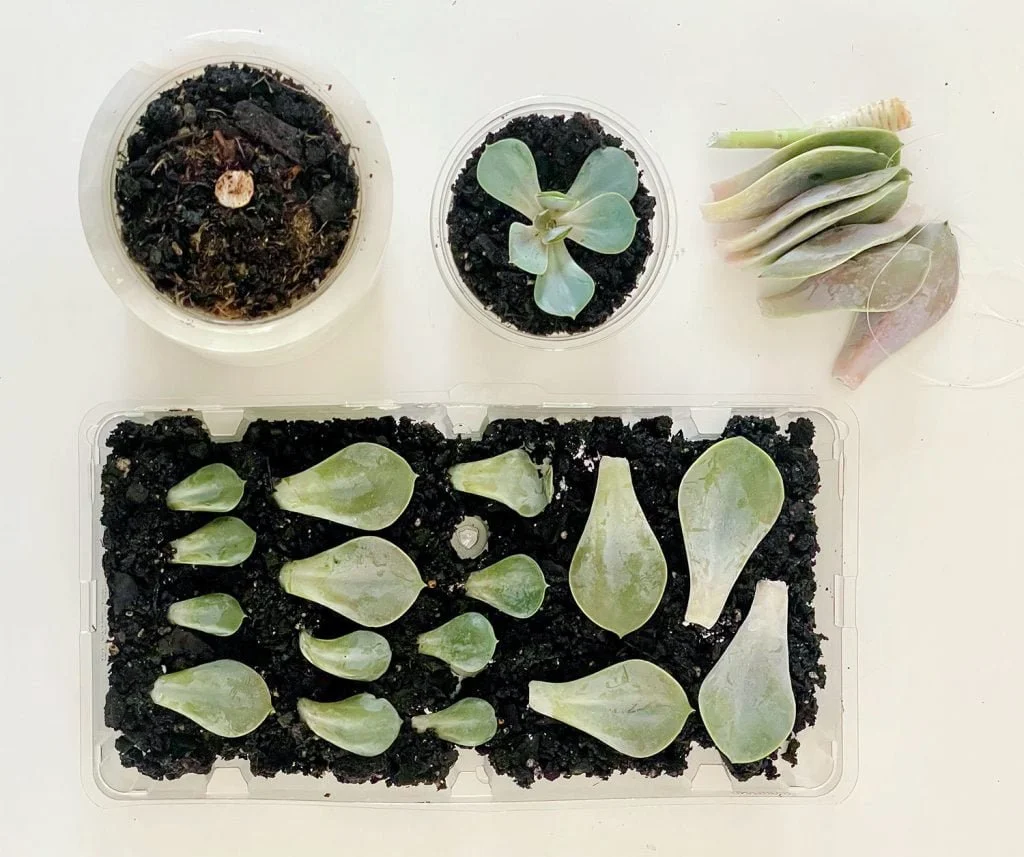
Before anything else, leave your leaves and stem cuttings out for 3–5 days to callous over. The ends need to become hard and dry so they don’t absorb too much moisture later, which causes rot. When in doubt, err on the side of more callous than less — waiting up to a week is fine.
Step 5: Replant the bare stem
I chose the soil method for the stem because it’s the easiest way to get a finished-looking plant immediately. Fill a small nursery pot with well-draining potting soil — a cactus or succulent mix works great, or a standard mix with extra perlite. Don’t make the pot too big. Succulents like to be snug.
Poke a hole in the center with a finger or chopstick and plant the stem. You can dip the end in rooting hormone first, but it’s optional. I did it because I had some on hand, and it seemed to help. Once planted, gently shake or squeeze the pot so soil settles around the stem — the soil and stem need to actually make contact for this to work.
Step 6: Lay, hang, or plant the leaves
This is where it gets fun. Each leaf has the potential to become a new succulent, and I tried three different approaches, just to see how they compared.
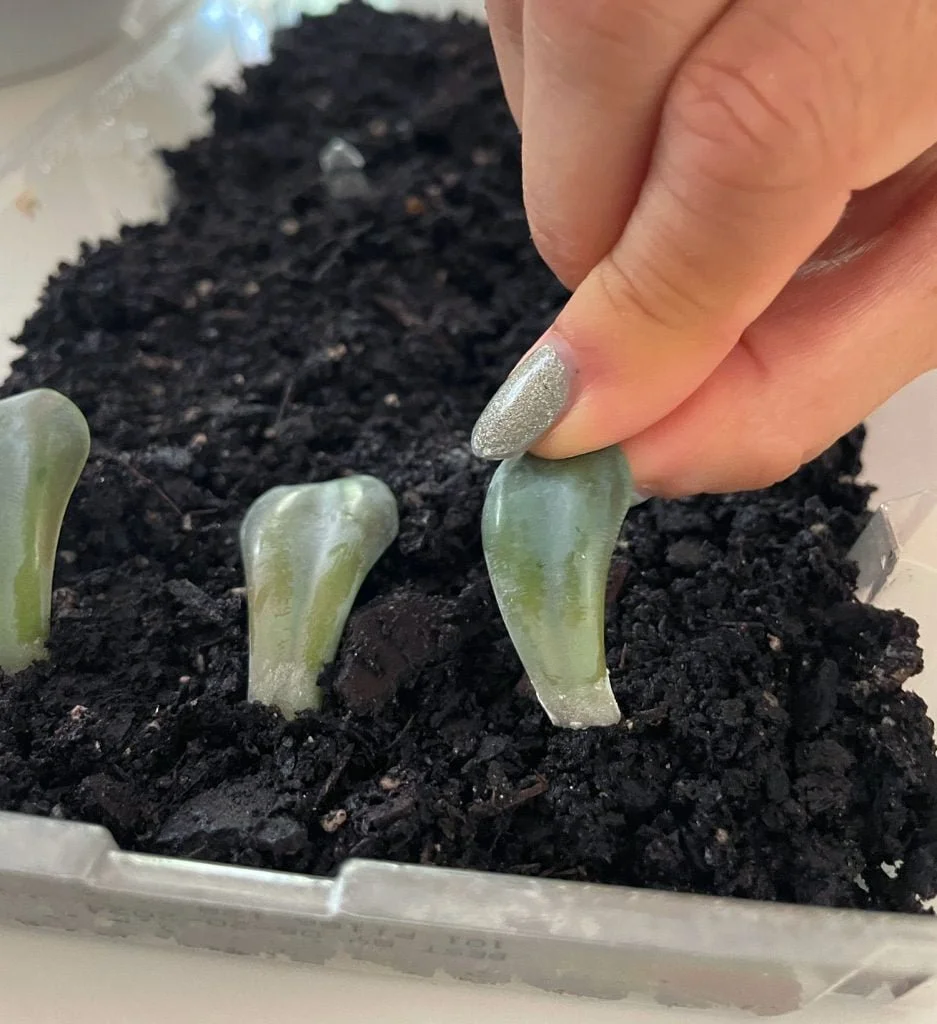
Planting in soil. Fill a shallow tray or small pot with potting soil and mist it until damp, not soggy. Press the calloused end of each leaf into the soil at a slight angle. It only needs to go deep enough to stay in place.
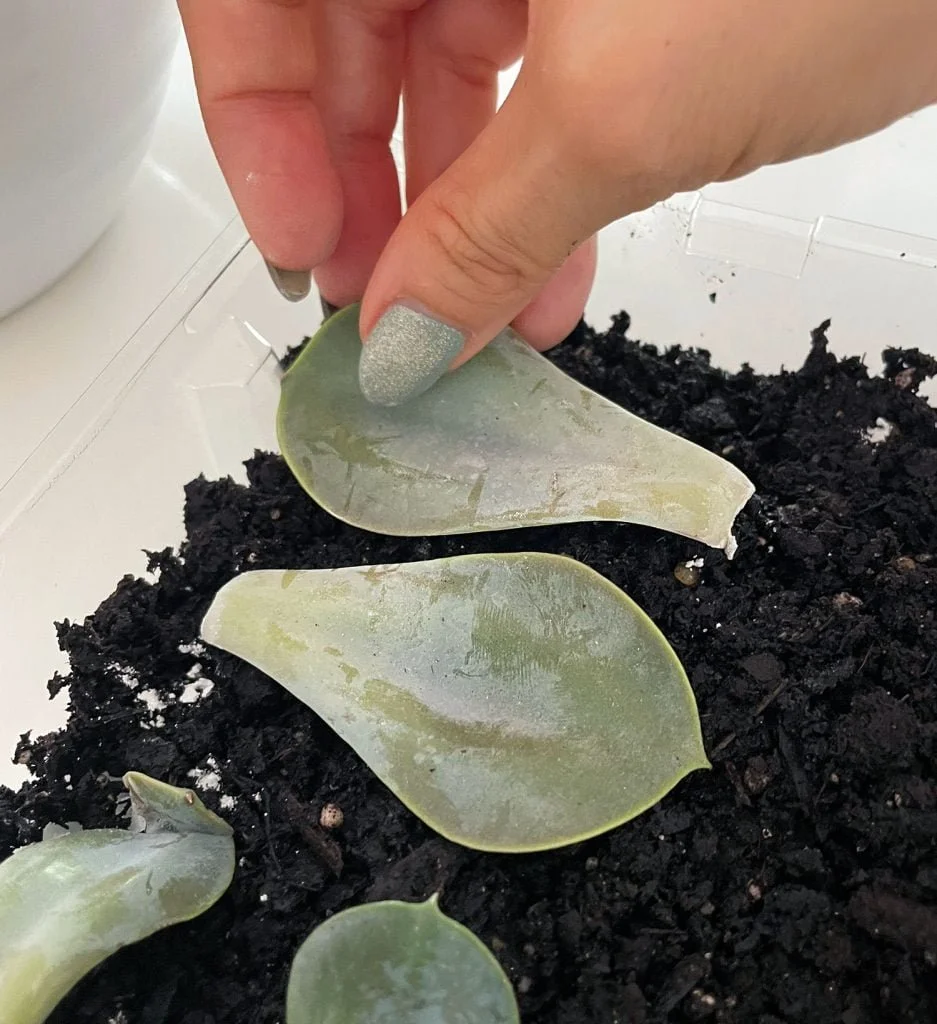
Laying on soil. You can also simply lay the calloused leaves flat on top of the moist soil. A lot of people prefer this because it’s simple and you can watch new roots develop without digging anything up.
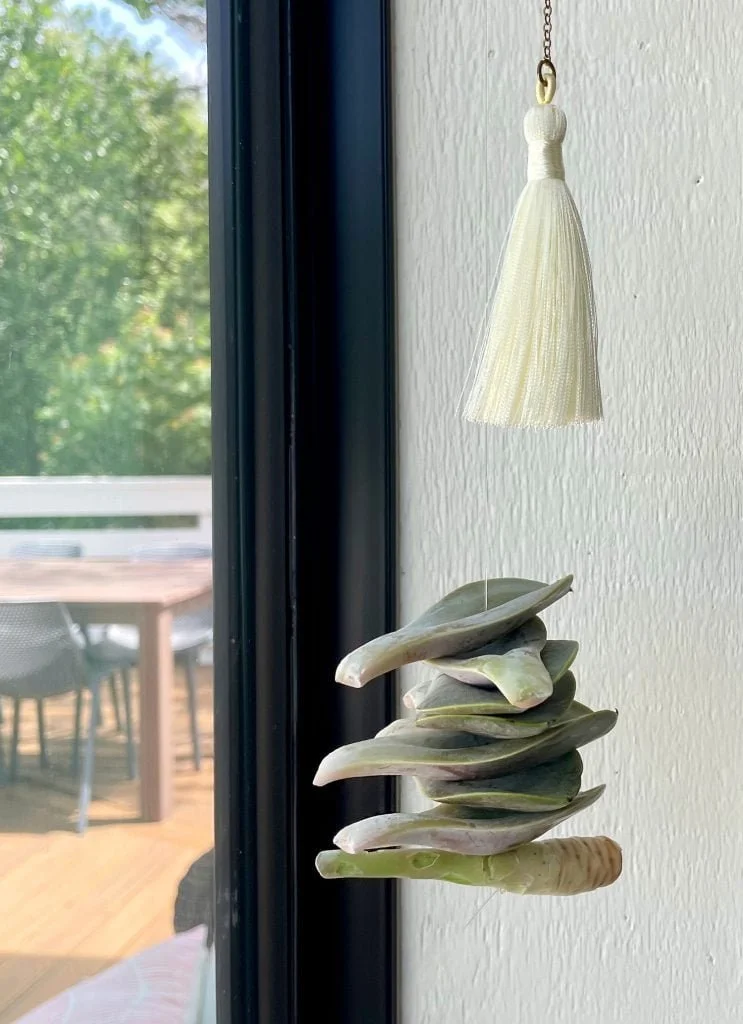
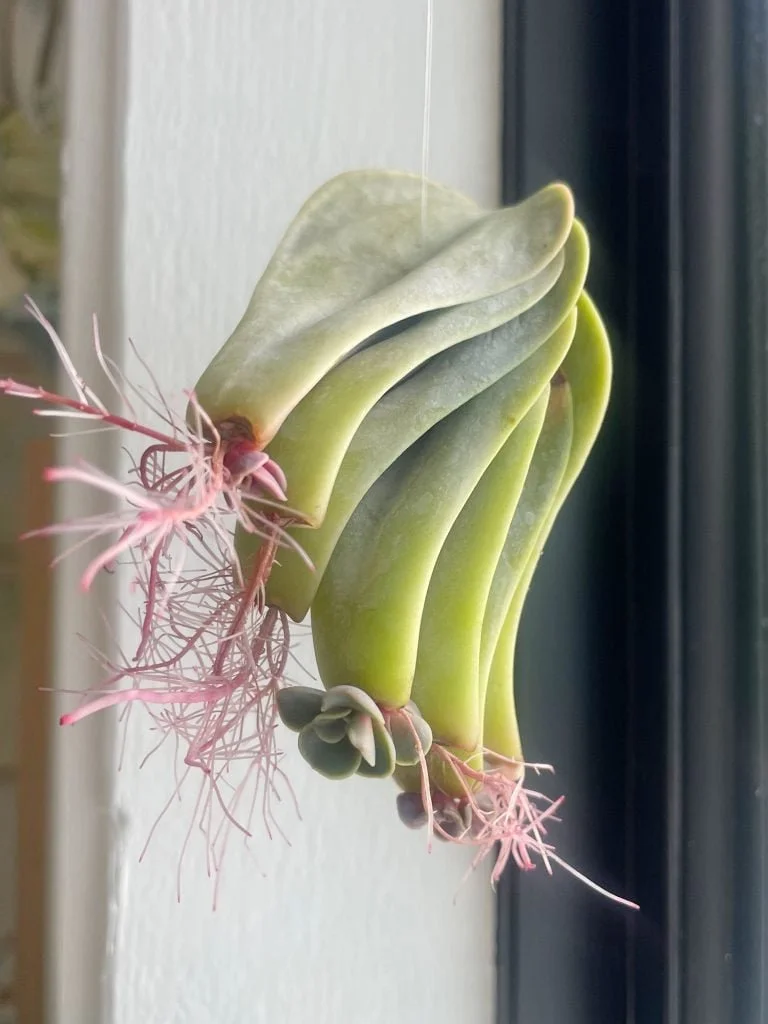
Hanging in air. Here’s the one that surprised me: succulents can grow roots and pups with no soil at all. I tied some fishing wire around the stem scrap to keep the leaves from sliding off the ends, then used a sewing needle to thread the leaves together, like a popcorn garland.
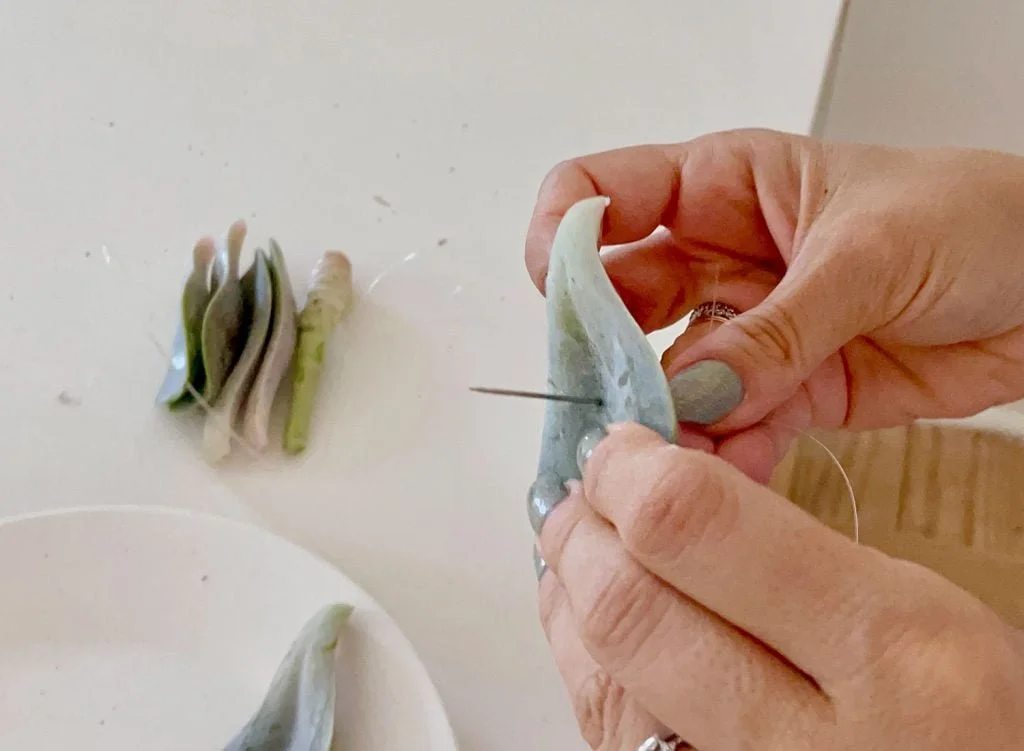
Once they were strung together, I tied a loop at the top and hung them from a small hook by a window.
Step 7: Give them bright, indirect light
Wherever you put the cuttings, they need several hours of bright indirect sunlight a day. A windowsill, bookshelf, or side table all work. Just avoid spots that get hot, direct afternoon sun.
I hung my string of leaves in a windowsill that got strong morning light — bright, but not as intense as the afternoon sun.
Step 8: Keep everything lightly watered
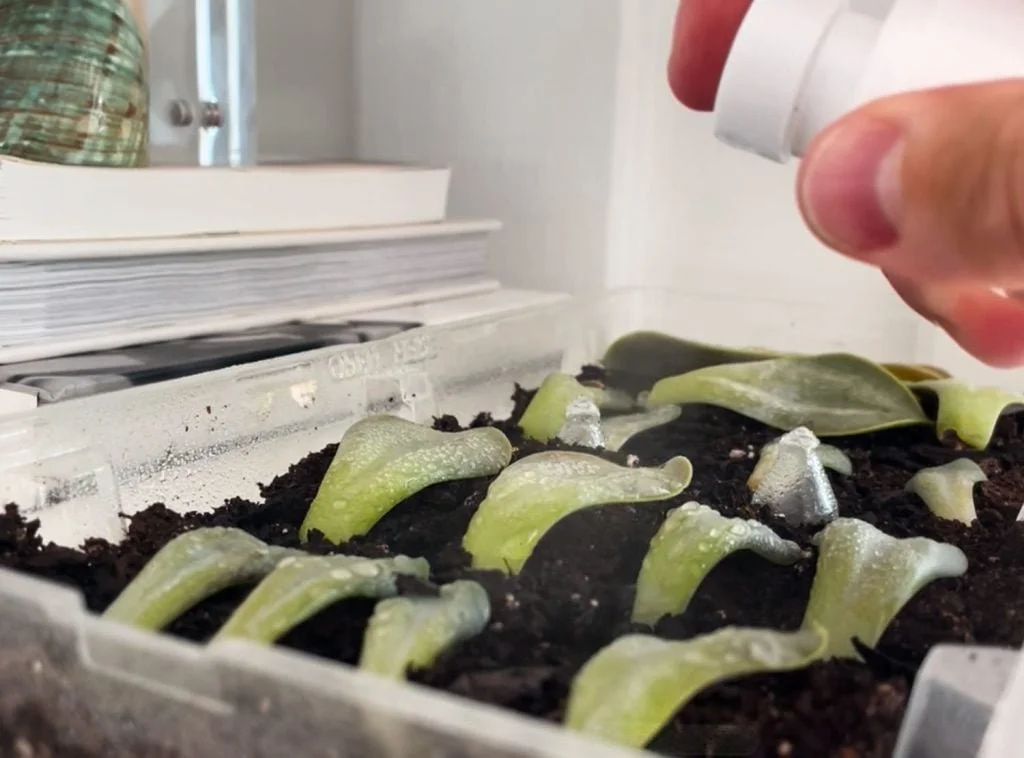
While the leaves are propagating, mist them every 2–3 days to keep the soil moist but not soggy. That’s different from how you’d water a mature succulent, whose soil should fully dry out between waterings. I found my tray was drying out quickly, so I usually misted it every day or two.
A small spray bottle made this easy and kept me from overwatering. It also made it simple to reach the string of leaves hanging in the window.
Step 9: Pot the rooted plants
It takes several weeks before you’ll see real signs of growth, depending on your conditions. Gradually you’ll see new roots and little pups starting to form at the end of each leaf.
Here’s where things stood one month in:
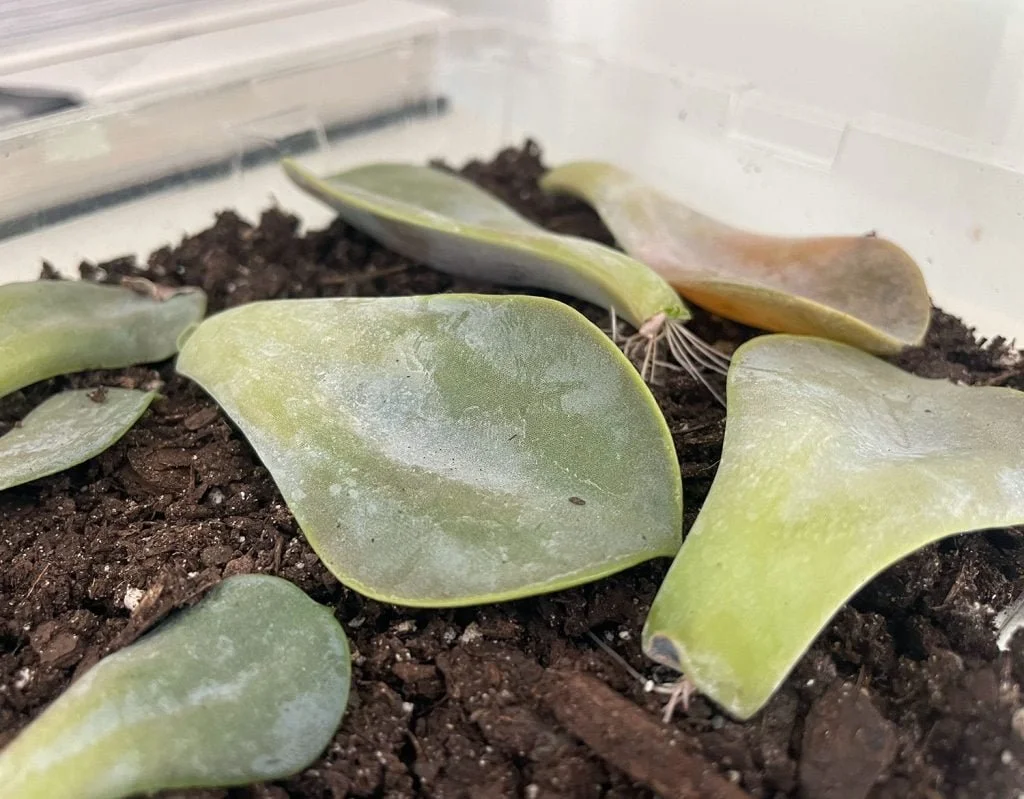
And here are the same leaves after two months. Some are clearly growing faster than others, and a couple — including one at the end — didn’t take at all and withered. That’s part of the process.
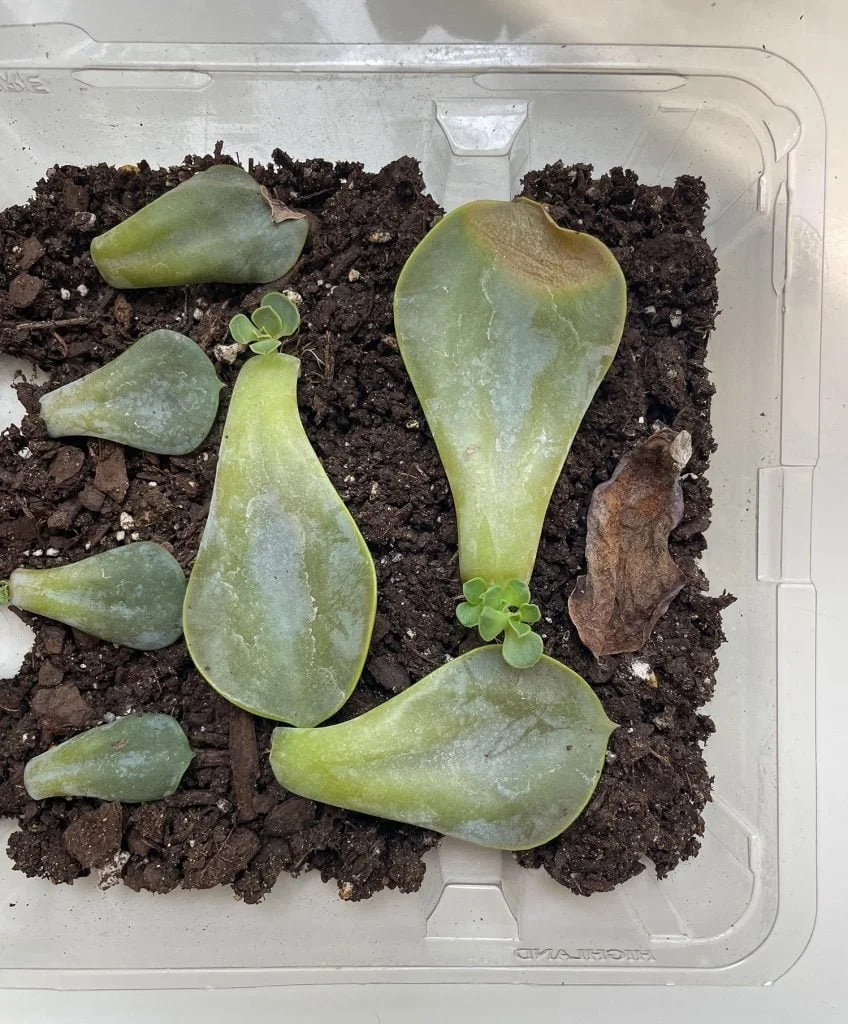
I waited a full 3 months before moving the new plants into their own pots. I carefully removed each leaf from the soil and, when possible, gently broke the pup free from the mother leaf. Some weren’t ready to detach yet, so I just left those alone to grow a little longer, or kept working with the leaf still attached.
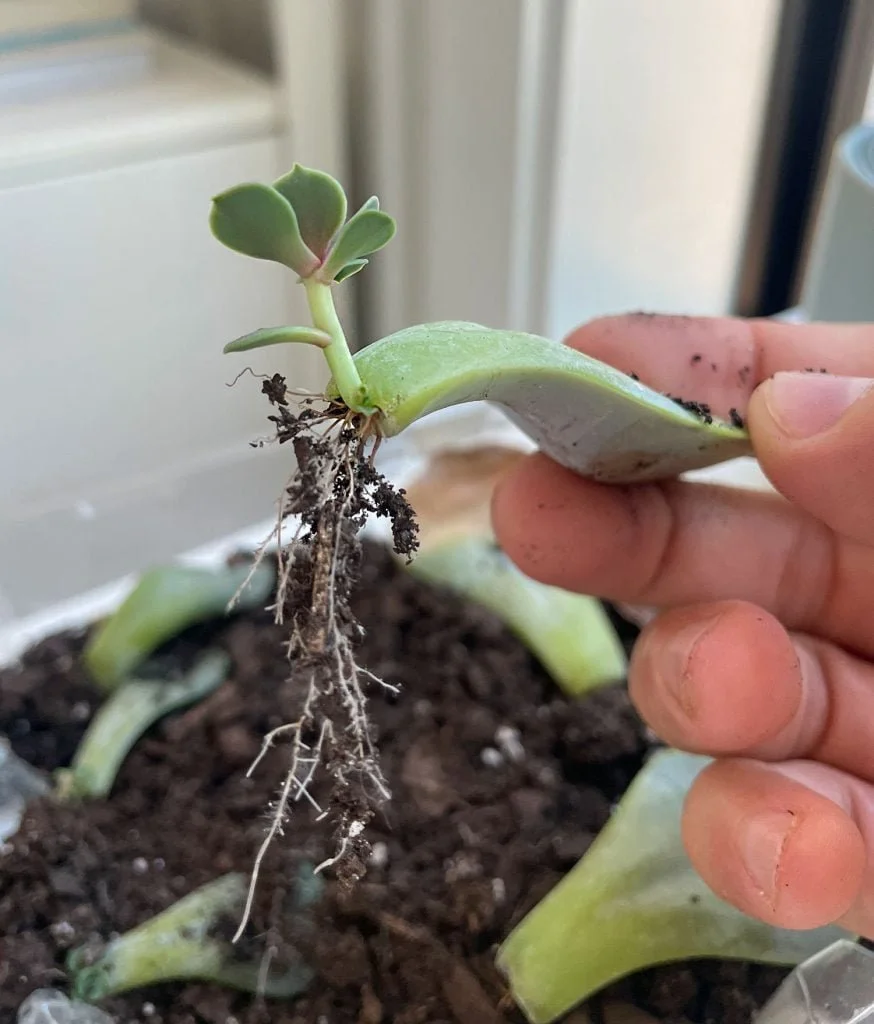
The hanging leaves had similar progress after 3 months. It’s hard to say whether the air method was actually better or faster, or if the results were just easier to see when they were hanging in the air.
To pot the new roots, I prepared a small pot with fresh, moist soil and made a small hole to settle the roots into.
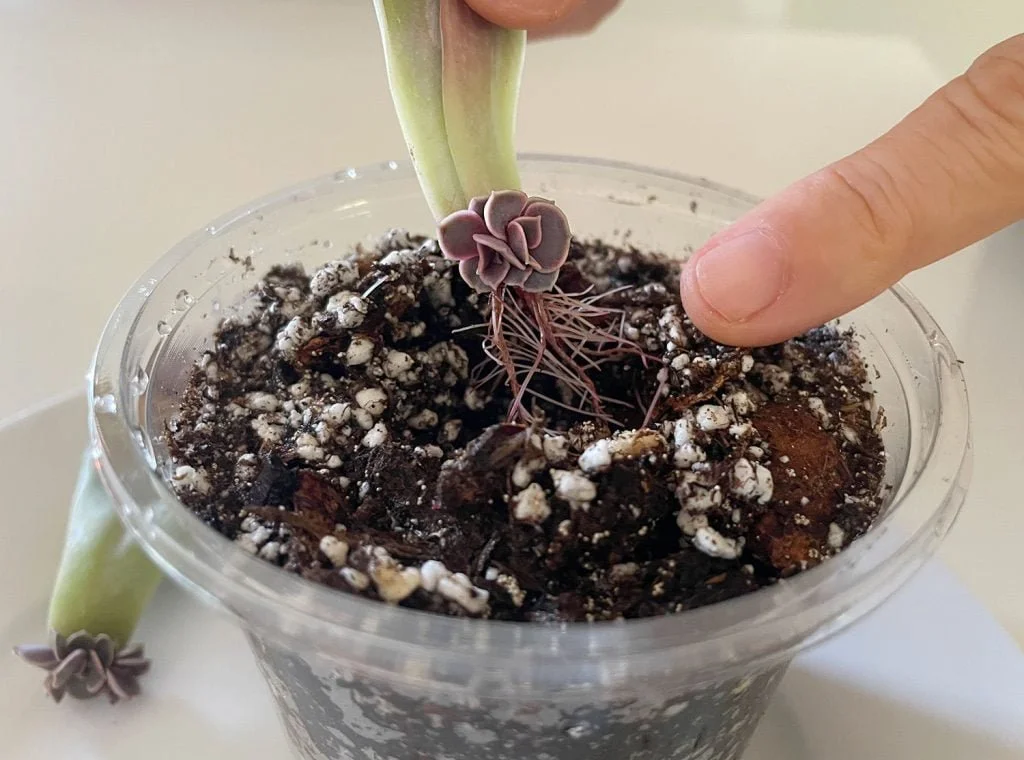
Once planted, I cared for each pup exactly like the parent plant — bright indirect light, and water only when the soil dried out.
So which method is best
Honestly? It’s hard to pick a favorite, because every method worked.
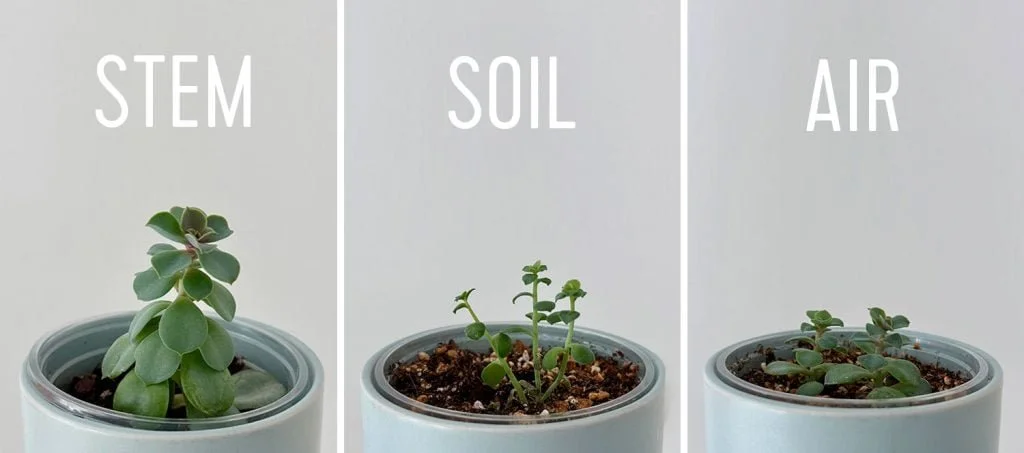
The trimmed stem with the rosette had the most dramatic growth, but it had a big head start. It’s already ready to be trimmed and propagated again.
The leaves placed on soil produced more successful new pups than the ones in the air, but the growth was thinner and leggier.
The leaves hanging in air developed fewer pups, but the rosettes were smaller and thicker — and it was the most fun to watch.
One thing to keep in mind: succulents aren’t fast-growing plants. You won’t see results as quickly as you would with something like a pothos.
Style Math: the real cost of a new plant
A single potted succulent at the store usually runs $10–$15. The supplies for this whole project — snips, a bag of succulent mix, a couple of nursery pots, and a spray bottle — are things you can pick up for under $30 and reuse for years. One leggy plant gave me 10+ new succulents. That’s a cost-per-plant of a few dollars, or basically free if you already had the basics on hand.
FAQ
Can I propagate succulents at any time of year?
Yes, but spring and summer give the fastest results because the plant is actively growing. Fall and winter cuttings work too, just more slowly. If your plant needs pruning, don’t wait for the perfect season.
Why did my propagated leaves wither instead of growing?
Usually it’s too much water or not enough callousing time. Keep the soil moist, not soggy, and let the cut ends harden for 3–5 days (up to a week) before you plant or mist them. A few losses are normal even when everything goes right.
Do I need rooting hormone to propagate succulents?
No. It’s completely optional. I used it because I had some on hand, and it seemed to help, but a lot of people skip it and get great results with just clean cuts, patience, and the right light and moisture.
This post contains affiliate links, so I may earn a small commission when you make a purchase through links on this site, at no additional cost to you.
Keep reading: if you’re building a low-maintenance plant corner, start with the easiest plants to keep alive. Best Low-Light Indoor Plants is a good starting point, and How to Build a Simple Plant Shelf will show you where to put everything once it arrives.
A note from Maya: the best part of this whole project wasn’t the new plants. It was realizing that the plant I was about to throw away was just asking for a haircut. Buy less, prune more, and let the plant do the work.