
The closet that used to be a pantry has been holding three big walnut boxes for about a week now, and every time I walk past it I catch myself doing a double-take. It looks like a custom built-in. It is one. It’s just that nobody else built it, and it took nearly two hours to get the first cabinet sitting where it needed to.
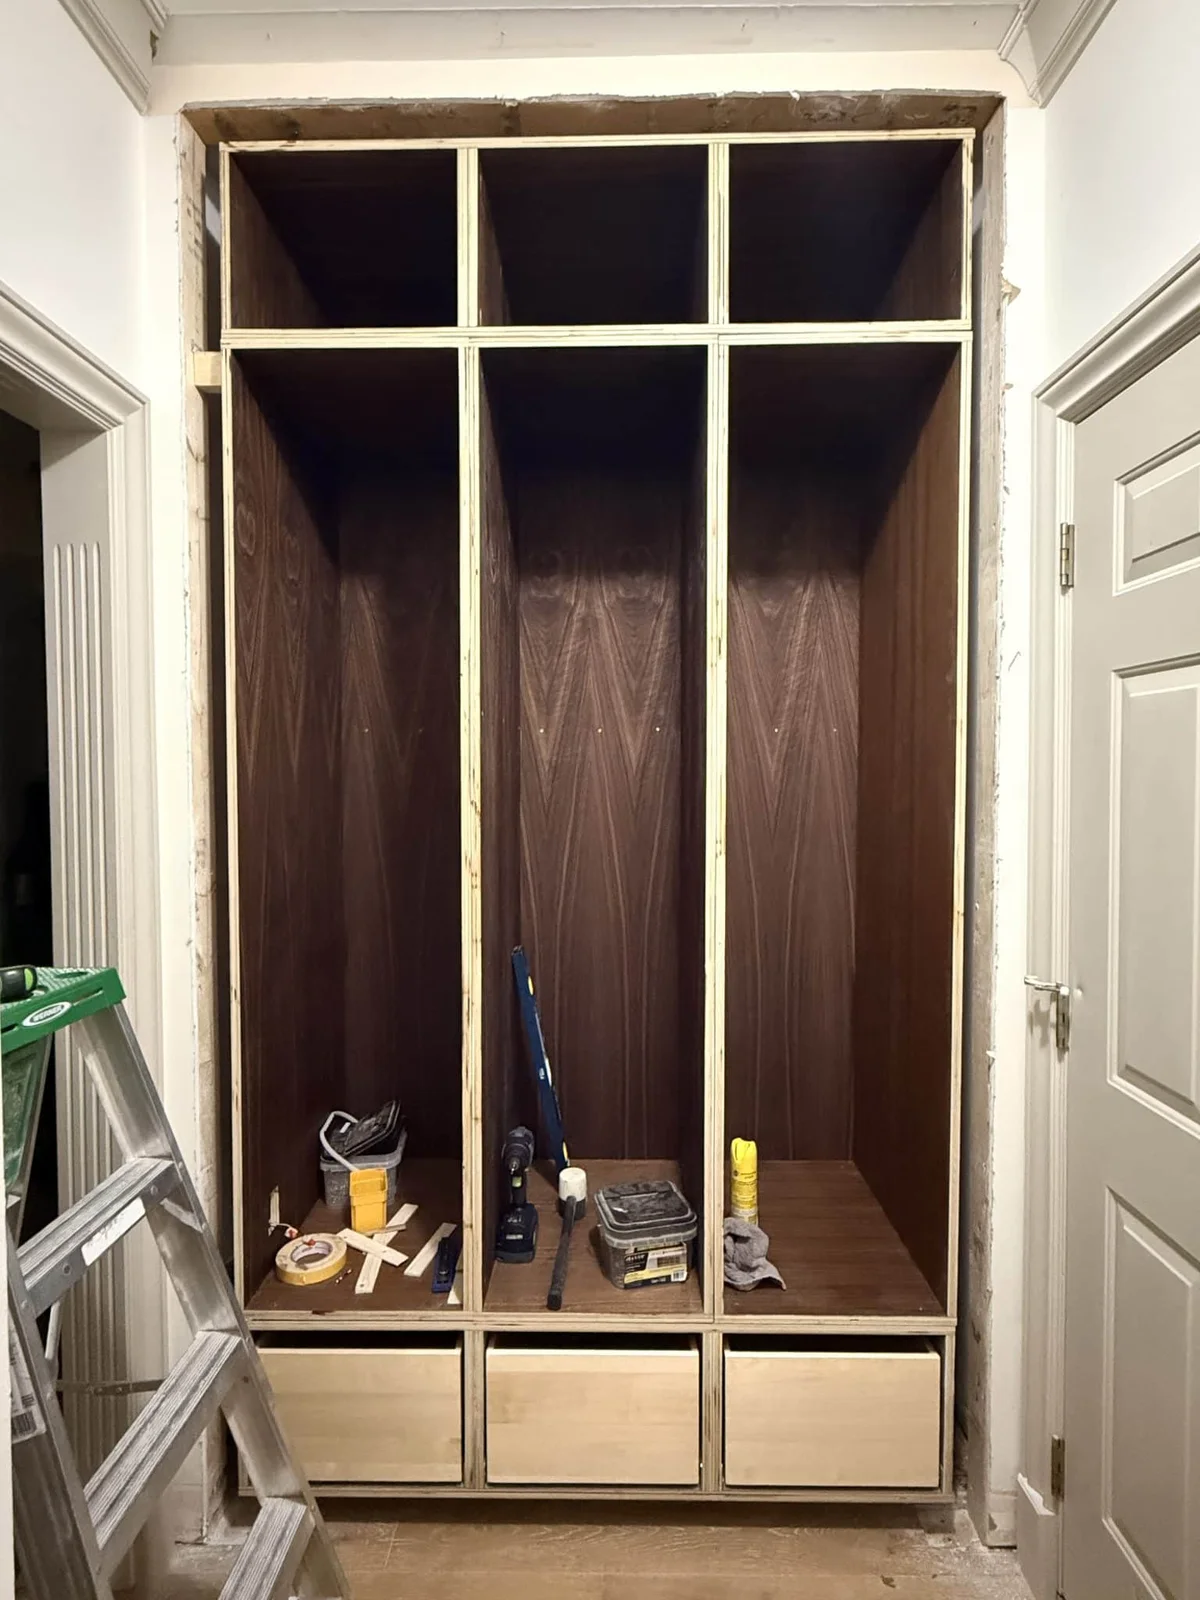
I’ve been writing up this mudroom locker series as it happens, and this is the part where the cabinets actually go into the wall. If you’re building your own drop zone, this is the step where most people second-guess themselves. It doesn’t have to be that way. Here’s what I learned doing it.
The short version: the first cabinet is your reference point, so it gets the most shimming and checking. After that, everything else goes in much faster. And the face frame is what turns three separate boxes into one clean, built-in unit.
Installing the locker cabinets
Houses are rarely perfectly straight, level, or square. Ours was not. So the goal was never to match the walls — it was to install the cabinets plumb, level, and square relative to each other, so the whole run reads as one built-in.
The first cabinet took nearly two hours. I kept adjusting it with shims until it was exactly right, because that first cabinet becomes the reference for everything that follows. Build off something that’s even slightly off, and every cabinet after that compounds the error. Future-you will thank present-you for sweating the details now.
Setting the first cabinet
I set the first locker in position and checked it on four things before touching a single screw:
- Plumb front to back
- Plumb side to side
- Level top to bottom
- Square within the opening
Shims are non-negotiable when installing cabinetry into an existing space. Floors and walls are almost never perfect, and a thin shim is the difference between a cabinet that sits and one that wobbles.
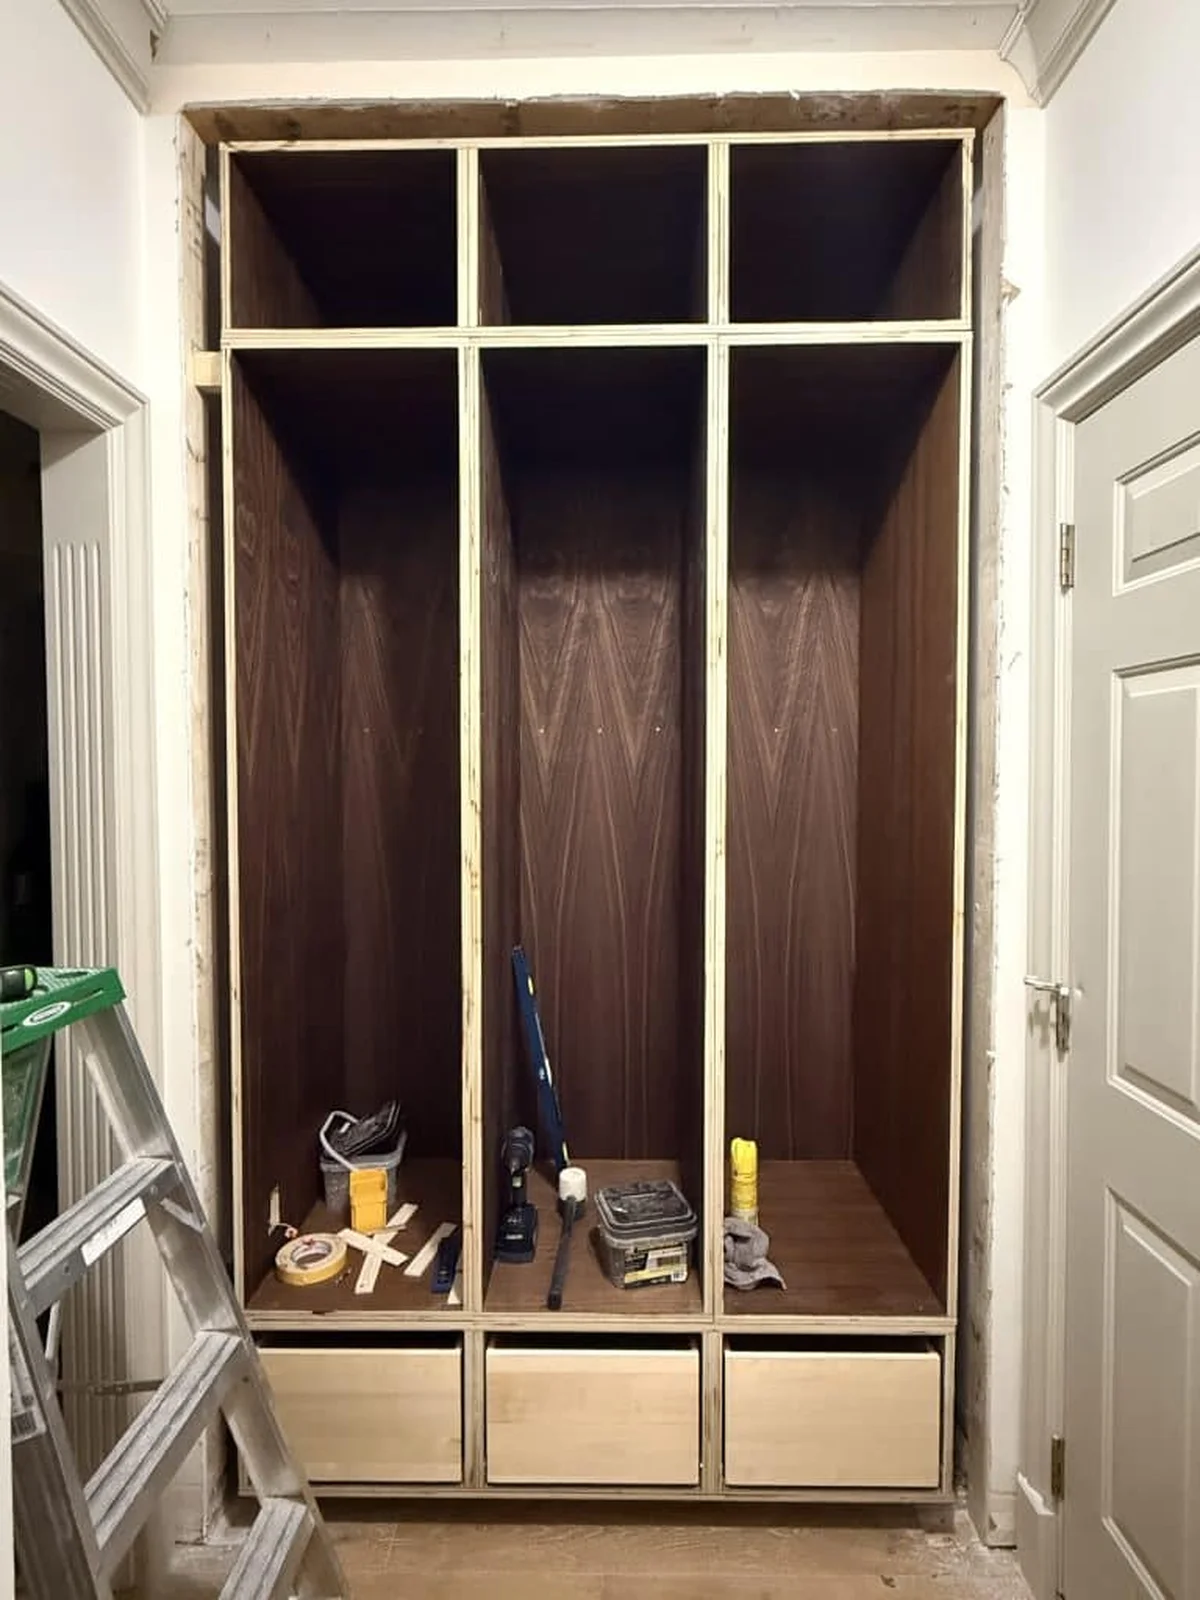
Once it was positioned, I drove screws through the back panel into the wall studs and also secured it to the drawer base below. That locked the cabinet in place and gave me a solid foundation for the rest of the run.
The remaining two lockers
After that, things got fast. The second cabinet went in next to the first: I checked alignment, screwed it to the studs, and connected it to the drawer base and the first cabinet. The third one was a tighter squeeze, but the same process — position, check, screw in place. Once all three were anchored, the separate boxes effectively became one solid built-in unit.
When the cabinets aren’t perfect
Here’s the part I wish someone had told me before I started: even a careful install leaves small gaps and slight variations. That’s normal. Cabinetry is designed for it — the face frame and trim that go on later hide those imperfections and tie everything together into a polished finish.
So don’t panic if your closet walls are wonky. Just get the cabinets plumb and level relative to each other, and let the face frame do its job.
Finishing the carcasses
Before I moved on to doors and drawer fronts, I finished the carcasses with Rubio Monocoat Oil Plus 2C in Pure. I’ve used this finish on a few projects now, and it’s become my go-to for interior work: one coat, very forgiving to apply, durable, and it brings out the grain of black walnut in a way I really love. Mudrooms see a lot of daily wear, so a durable finish mattered here.
The process is simple:
- Sand the wood thoroughly to 120 grit
- Mix the oil and accelerator at a 3:1 ratio
- Spread a thin coat and let the wood absorb it for a few minutes
- Wipe off the excess with a clean cloth
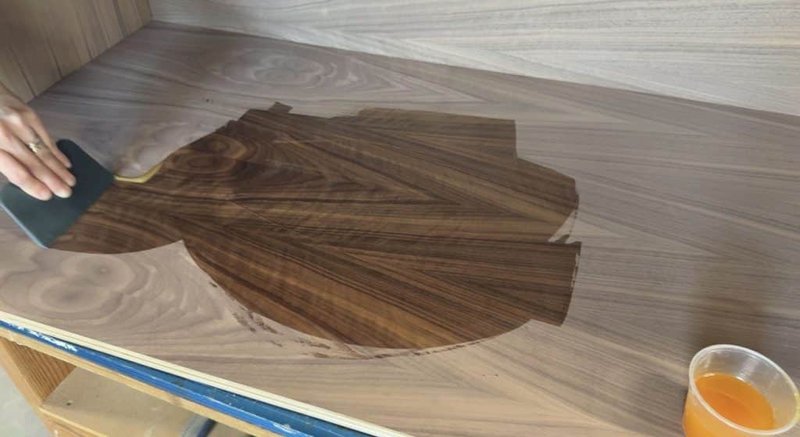
That’s it. One application, and you get a natural-looking finish that makes the walnut look like walnut — no heavy gloss, no hiding the grain.
Building and attaching the face frame
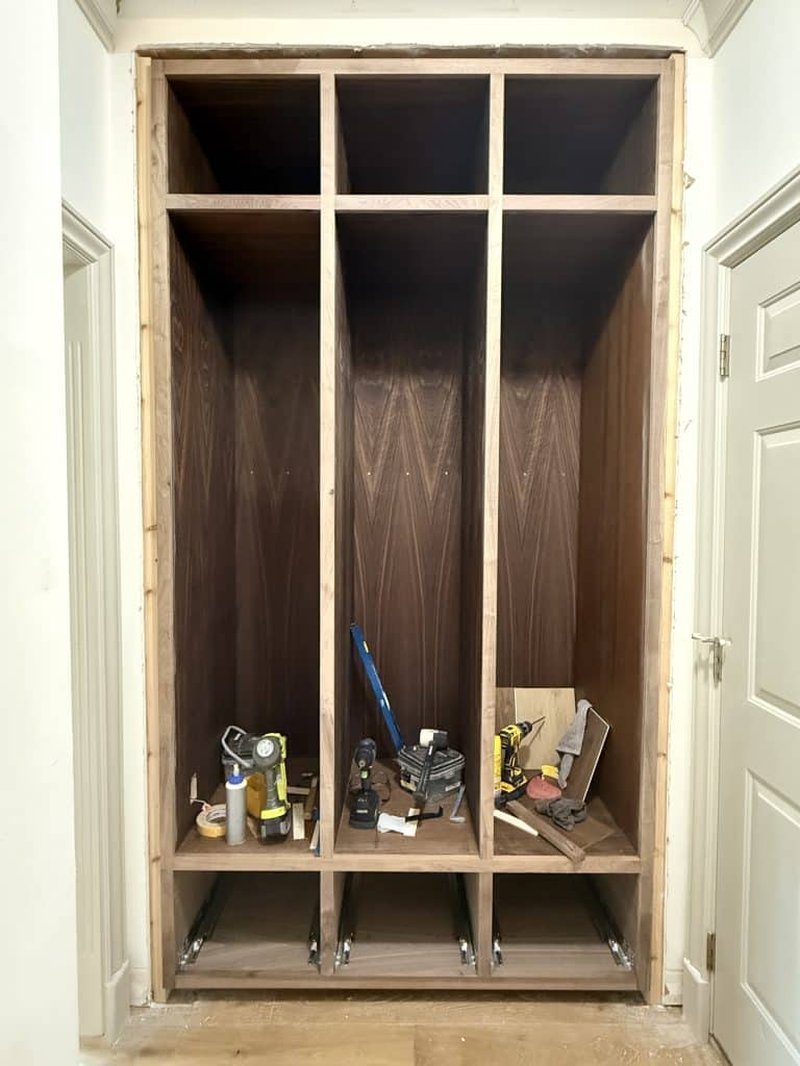
The face frame is what makes a cabinet run look like a cabinet run. It ties the individual carcasses into one unit, strengthens the fronts, hides any inconsistencies between boxes, and gives the doors and drawers a clean surface to mount to.
I built it from solid walnut, cutting the vertical stiles and horizontal rails to size first, then assembling the frame with pocket screws and wood glue. Quick, strong, and plenty for a face frame.
Once it was assembled, I positioned it on the fronts of the cabinets and attached it with brad nails and wood glue. Because the cabinets were already plumb and level, the frame went on cleanly and the whole thing immediately started looking intentional.
Before and after the face frame
The difference is honestly night and day. Before: three nice boxes sitting in a closet. After: one built-in that looks like it came from a showroom. Here’s what it looked like before, and then after.
Before:
After:
Gluing up the drawer fronts
The boards I had on hand weren’t quite wide enough for the drawer fronts, so I glued a couple of them edge to edge to make wider panels. This is called a panel glue-up, and it’s a standard technique: square the edges for a tight seam, glue, clamp, and let it cure. Once it’s dry, the panel mills and cuts like a single solid board. These panels will become the drawer fronts, with routed edges to finish them off.
Starting the locker doors
With the cabinets installed and finished, I started on the doors. Each one is built from five parts: two stiles, two rails, and a floating center panel. The panel sits in grooves cut into the rails and stiles, which lets the wood expand and contract with the seasons without cracking. It’s a joinery method that’s been used in cabinetry for centuries, for good reason.
I milled the rails and stiles from solid black walnut, keeping each board flat, straight, and consistent in thickness. For the tall vertical stiles I used quarter-sawn walnut — the growth rings run near-parallel to the face of the board, which makes it far more stable than plain-sawn lumber for long, narrow pieces. The rails and shorter stiles are plain-sawn. That mix keeps the tall doors from warping and keeps them looking straight for years.
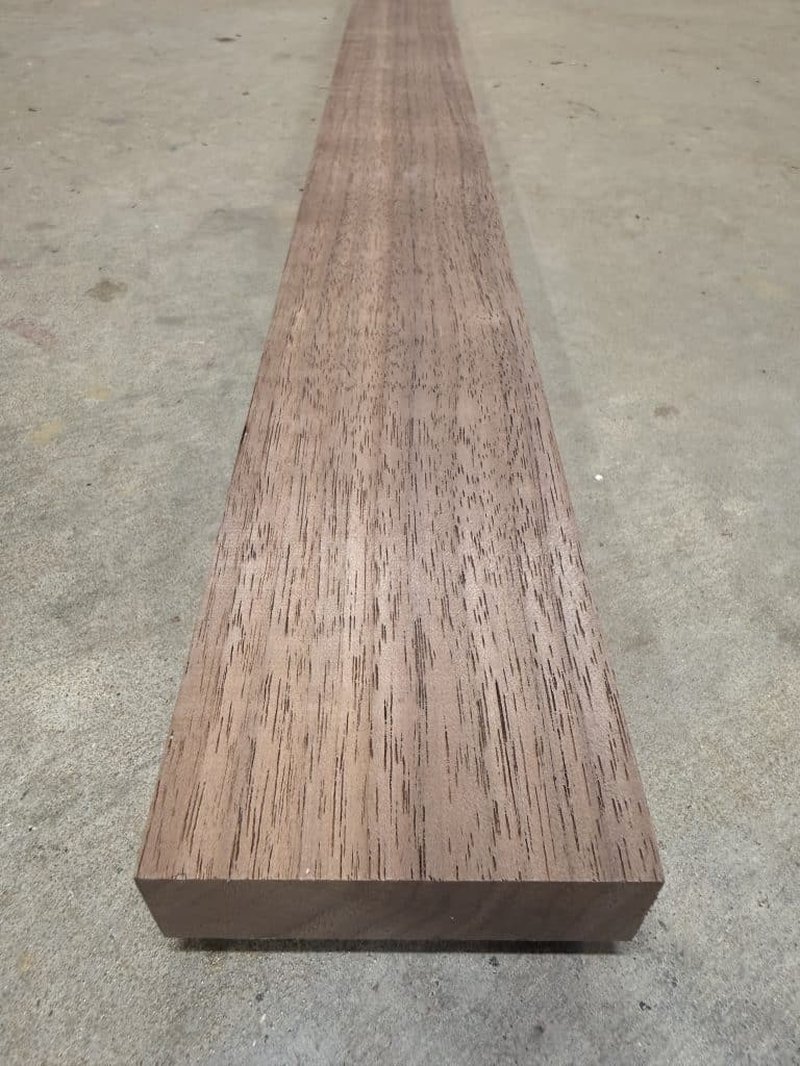
Once the parts were milled, I cut grooves along the inside edges to hold the center panels, then cut tenons on the ends of the rails so they lock into the stiles. A strong mechanical joint that keeps the door rigid while still letting the panel float.
Next up: measuring and assembling the inset doors, where the reveal around all four sides needs to sit at exactly 1/16 inch. That’s the part of this build I’m most nervous about.
Mudroom locker FAQ
What’s the best wood for mudroom lockers? I’d go with hardwood plywood for the carcasses and a hardwood like walnut, maple, or oak for the face frame, doors, and trim. For long vertical pieces like tall door stiles, quarter-sawn lumber resists warping much better than plain-sawn.
How do I finish and maintain the wood? I finished mine with Rubio Monocoat Oil Plus 2C in Pure — it’s easy to apply and holds up well to daily wear. After that, just dust regularly and touch up the finish as needed.
Any tips for installing in a closet that isn’t square? Shim, check level and plumb constantly, and don’t rush. The face frame and trim are your best friends for hiding the small gaps and imperfections that every existing space has.
Quick tips for the install
- Measure twice, cut once — then check again. Walls are sneaky.
- Start with the most visible cabinet. First impressions matter, and it becomes your reference.
- Use quarter-sawn lumber for long stiles to help prevent warping.
- Dry-fit everything before final installation.
- When in doubt, add more shims.
- Keep snacks and a good playlist within reach. Trust me on this one.
A note from Maya
After six years buying for a department store, I learned that the difference between “homemade” and “custom” is usually one detail: a clean, even line. The face frame gave this whole build that line. If you’re starting your own drop zone, the cabinets are the hard part — and the part worth doing carefully.
If you’re following along, the earlier parts of this series walk through the design plan, materials, reframing the opening, and building the carcasses — and I’ll be back with the inset doors and reveal dialing next. And if you’re working on a build of your own, tag me on Instagram — I love seeing what you make.